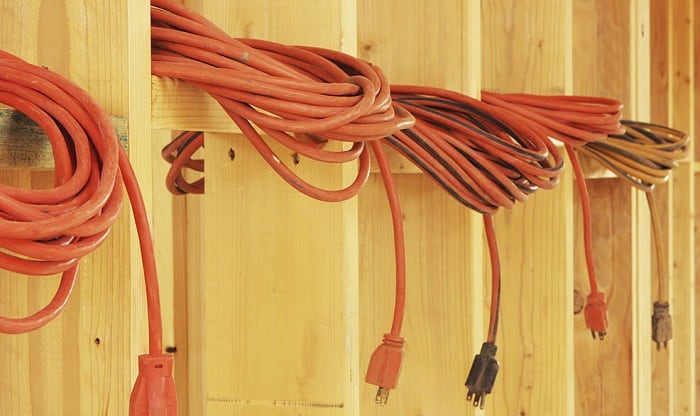
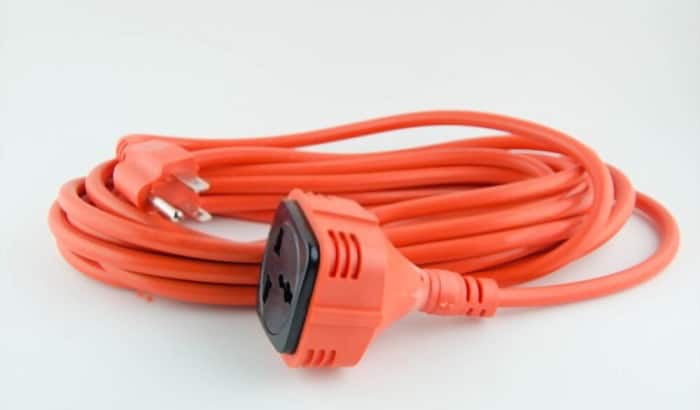
There are plenty of ways to wrap an extension cord quickly without creating tangles. However, some techniques can damage the cord by over-twisting it or creating a permanent bend on the cable, making it hard to straighten when used.
To prevent these problems, you should know how to coil an extension cord properly. This way, you can keep it free from damage and significantly extend its lifespan.
If you are interested in learning the best technique for coiling extension cord, reading this entire article will be helpful.
Table of Contents
Best Way to Coil an Extension Cord
You can find various guides on how to wrap extension cords on Tik Tok or other social media platforms. A figure eight technique and a butterfly extension cord are some of the most popular tricks.
However, not all of these tutorials are recommended for use on different types of electrical cables. Some wires can easily get damaged when tightened like a parachute knot.
If you’re looking for the best coiling tricks, you can consider the roadie wrap or the over-under wrap. Furthermore, using a bucket is also a good idea to keep the extension cord from tangling and ready to use.
With these methods, you’ll have better cable management like a contractor. Here is the guide on coiling an extension cord.
1. Roadie Coiling Technique
This trick is very simple to do and does not require any tools, except for the string you need to use to tie and lock up the coil.
Step 1. Make sure that the cord has no tangle
Before you start coiling the extension cord, it would be best to ensure it is free of tangles. This way, you won’t encounter problems or become distracted when you start coiling.
Step 2. Coiling and locking the cord
You can begin wrapping the cords now.
- Using your non-dominant hand, grab the male end and begin to wind an extension cord with the other hand. When creating this first/normal loop, both thumbs will point in the same direction.
- Then, use your dominant hand again to make the second loop. As you grab the cable, make sure the two thumbs point in opposite directions.
- Alternate between the first loop and the second loop until you reach the female end of the cord.
- Finally, attach the string to the male end and tie the coil.
2. Bucket Storage Method
If you want to have proper coiling of the extension cord and better storage, using a bucket is helpful. This guide is very easy to follow.
All you need to do is to punch a hole in the bottom side of your bucket with a drill, insert the male end into the hole and start coiling the extension cord inside the bucket.
Every time you need to use your cable, you will only need to pull out the cord.
Conclusion
Knowing how to coil an extension cord the right way will remove the frustration of detangling it. Plus, it will save you time during your home improvement tasks.
Between the two methods above, which one do you think is preferable? Leave your thoughts in the comment box below. Also, you can share this article if you find it helpful.
Helpful tips you can refer to organizing your extension cords:
- Simple Steps to Hang Extension Cords on Wall
- Daisy Chain an Extension Cord Easy Than Ever With 3 Simple Steps
- The Best Ways to Store Extension Cord

I am Edwin Jones, in charge of designing content for Galvinpower. I aspire to use my experiences in marketing to create reliable and necessary information to help our readers. It has been fun to work with Andrew and apply his incredible knowledge to our content.


