

How to change a circuit breaker from 15 to 20 amps? Is it possible to replace a 15 amp circuit breaker with a 20 amp circuit breaker?
Yes, it is possible to upgrade or replace your 15 amp breaker with a 20 amp breaker, but there are many things to consider. If you change your 20 amp breaker directly in your panel without doing any testing, your wires might overheat inside your wall.
Consider this article if you want to change your low-rating circuit breaker to a higher one.
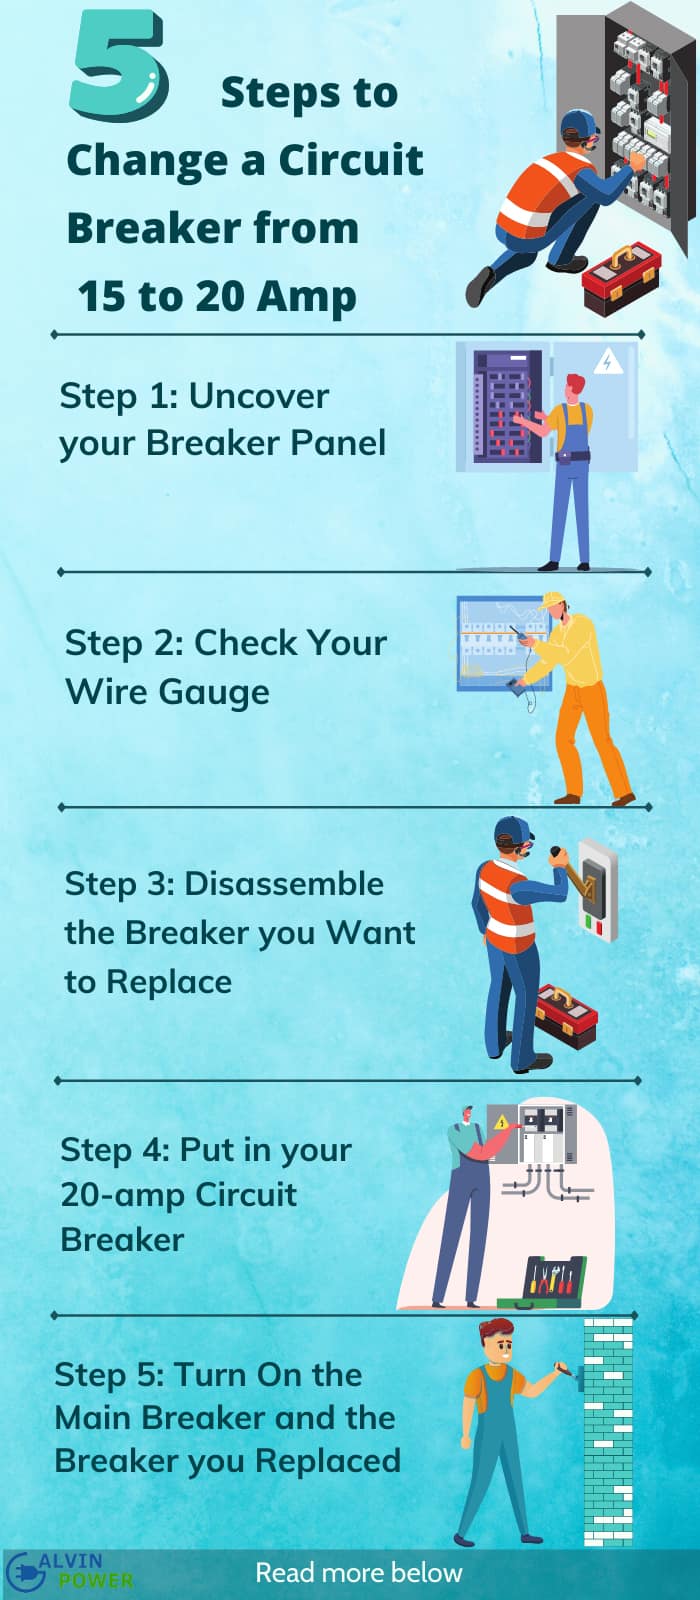
Table of Contents
Step-By-Step Guide for Replacing the Circuit Breaker

Step 1: Prepare
You must consider these tools if you have to change your circuit breaker.
- Flathead screwdriver for disassembling the breaker cover and wires in your circuit breaker
- Insulated or rubber gloves for additional safety
- 20 amps circuit breaker
- A multimeter or non-contact voltage tester for testing voltage
- 12 AWG copper wire, which is the recommended size for a 20 amp circuit breaker
The recommended wire size for a 20 amp circuit breaker is #12, and most 15 amp circuit breakers have a recommended wire size of #14. If you want to replace or upgrade your circuit breaker to 20 amp, you must check your wire’s thickness to see if it can accommodate a 20-amp breaker. If your wire is only #14, you need to upgrade your wiring first.
Step 2: Uncover your Breaker Panel
Mark the circuit breaker you need to replace, wear your rubber gloves, and unscrew the cover of your panel. Use your screwdriver to remove it, and make sure that you hold the cover panel tightly before removing the last screw. This prevents it from falling to the ground and getting damaged.
Step 3: Check Your Wire Gauge
Check the wire size of the circuit breaker line that you want to replace. If it’s #14, you need to replace it with size #12 to handle a 20-amp current. But if it is size #12 already, you can go to the next step.
Note: 12-gauge is about the size of a nickel, and 14-gauge is about the size of a dime.
Step 4: Replace your circuit breaker
First, you need to turn off your main breaker for additional safety. Remember that the direct line from the meter to your main breaker has a voltage. Check the hot wires using a voltage tester and ensure that it’s not an active line before working on your system.
Step 4.1:
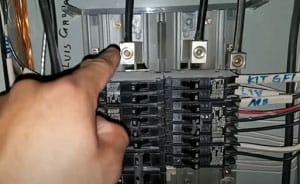
Remove the screw of the circuit breaker you want to upgrade and slowly pull the wire. Push it to the side of your circuit breaker, so you can disassemble the panel board.
Step 4.2:
Remove your old 15-amp circuit breaker from the panel board.
Step 4.3:
Put in your 20-amp Circuit Breaker
Step 4.4:
Then, insert the wire and tighten the screw
Before you put in your 20 amp circuit breaker, you can check it using your multimeter to prevent the hassle of placing a bad circuit breaker.
If your lines are ready for a 20 amp circuit breaker, you can put it in by inserting sideways and then putting some pressure.
Step 5: Turn On the Main Breaker and the Breaker you Replaced
Check all your wiring and circuit breakers, turn on your breakers and test each voltage using a voltage meter or multimeter. This way, you can check if there’s an irregularity on your circuit breaker. Once done, return the cover of the circuit breaker panel, and you’re done changing your circuit breaker.
After you do all these steps, you need to regularly check your breaker panel to ensure that you don’t develop problems.
Why Do We Need to Replace or Upgrade Our Circuit Breaker?
Most of the time, we often need to replace our circuit breaker due to a system fault. When one of your breakers trips, all you need to do is to reset it, and you should be good. But if your breaker trips multiple times consecutively, that could be caused by an overloaded electrical system or a faulty circuit breaker.
Furthermore, you need to upgrade your circuit breaker to run or use higher capacity appliances and electrical equipment in your house. You should also consider this if you’re planning to add more devices.
Circuit breakers are crucial to prevent overloaded or overheated circuits by cutting off electricity as soon as they detect any problems. If your system does not have any issues, your circuit breaker shouldn’t need to trip a lot of the time.
If you need a replacement for your circuit breaker, consider looking at the most favorite circuit breaker review. I wrote that review based on my experience, and I recommended those products because I’ve used them before; they generally performed as expected.
However, not all faulty signs of a circuit breaker are caused by a bad breaker. Sometimes, a sudden trip of a circuit breaker is caused by old and faulty wiring. In this case, you may need to use an electrical circuit tracer.
Conclusion
How to change a circuit breaker from 15 to 20 amp? In general, to replace your circuit breaker, you must check your wire gauge. You must use the correct wire size for the circuit breaker you need to use. Otherwise, your breaker might not trip even if your wire is already overheating.
I highly recommend checking the Best Circuit Breaker Review if you need to replace your breaker. It will allow you to pick a top-quality circuit breaker for your panel.
Why do you need to replace or upgrade your circuit breaker? Let me know in the comments section below!

I am Edwin Jones, in charge of designing content for Galvinpower. I aspire to use my experiences in marketing to create reliable and necessary information to help our readers. It has been fun to work with Andrew and apply his incredible knowledge to our content.