
Are you wondering if your Ground Fault Circuit Interrupter (GFCI) went bad? You can test your breaker in a DIY way by simply activating the built-in tester and plugging an electrical device on the outlet. This device will indicate whether the power is completely off.
However, just by doing so, you cannot pinpoint the main problem. To determine what’s causing this outlet to malfunction, learn how to test a GFCI breaker with a multimeter.
Acknowledge the importance of multimeters in your electrical dilemmas, which, in this case, involve your GFCI breaker. Use this article as your guide for precise GFCI troubleshooting.
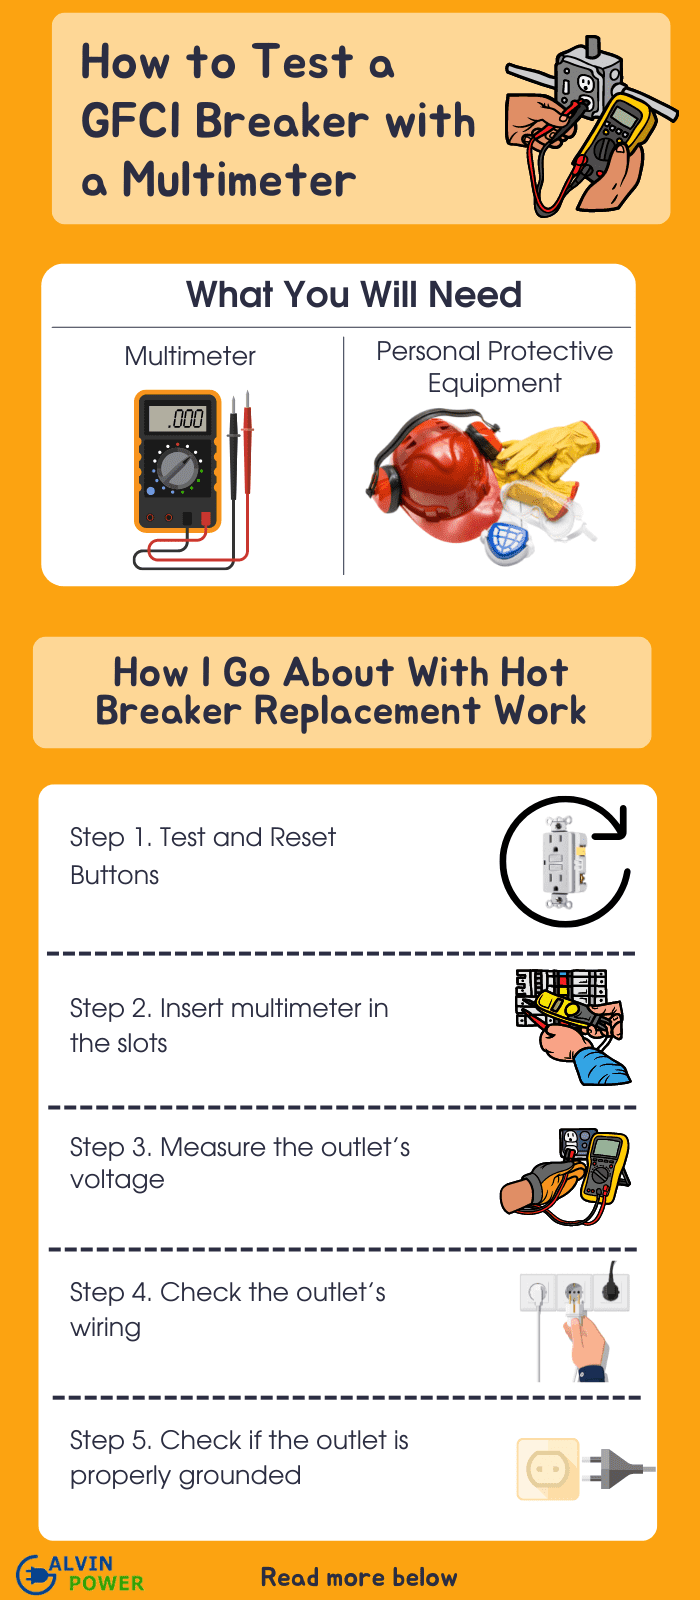
What You Will Need
Although what we’re dealing with here is just a GFCI breaker, do not underestimate its importance. Moreover, if your outlet is having problems, you need to equip yourself with the proper materials for the job.
1. Multimeter
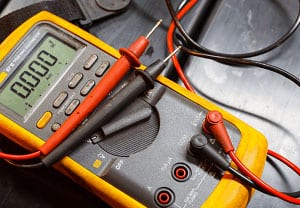
Also known as a volt-ohm meter, the multimeter is the best gadget to troubleshoot GFCI breaker. It measures electricity values such as amperage, voltage, and electrical resistance. You can choose from two versions — either analog or digital.
The analog multimeter has a graduated scale with a needle pointing to the corresponding amperage and current values. This kind of multimeter is the cheapest you’ll get.
However, this tool is very fragile, and users may experience difficulty reading the precise amp measurement. Nonetheless, it is still excellent, particularly when used as an ammeter, as it comes with low resistance and high sensitivity.
On the other hand, digital multimeters are more advanced due to their higher resistance and accurate digital display (LCD screen). Reading the outlet’s power can be pretty tricky, especially when you’re trying to get an exact voltage measurement from the wirings. I can say that this version handles the electrical voltages better than analog when testing the GFCI outlet with a multimeter.
2. Personal Protective Equipment

Expect that you’ll be working around a dangerous electrical hazard, so a piece of personal protective equipment is a must. One incident can result in multiple injuries, or worse, death. Keep yourself free from these risks by using these basic electrical PPEs before testing GFCI breaker:
Your hands will be the first part of your body that will get in contact with a possible live wire. Make sure to wear an insulated glove that prevents the flow of electricity from traveling to your hand. You should use a product that insulates electricity fully and securely. ShuangAn Electrical Insulated Rubber Gloves is a great example.
Next, is insulated matting that stops the transmission of electricity from the floor through your body if a ground fault occurs. Since you’re going to work in a high-voltage area, this mat serves as a protection layer between you and the ground.
Lastly, remember that before and after GFCI circuit breaker troubleshooting, it is best to have a voltage detector to determine any current flowing in the power source. You don’t want to work with a live GFCI breaker by mistake, so get one that will show the level of electricity at present.
Steps to Test a GFCI Breaker with a Multimeter
To prevent the occurrence of a ground fault, you should be able to detect its signs by troubleshooting the GFCI itself. It is a simple process with the use of a multimeter. These are the detailed steps you can follow to know if your GFCI breaker is bad.
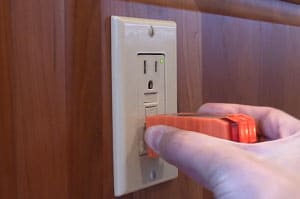
Step 1. Test and Reset Buttons
Your GFCI has two buttons in between the two plug connections, labeled as TEST and RESET. It’s a specific feature only for this type of outlet.
Manually press the TEST button until you hear a clicking sound of the outlet tripping, indicating that the power is cut off.
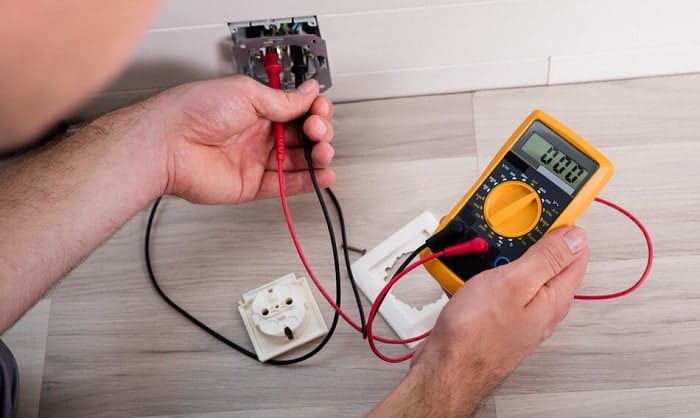
Step 2. Insert multimeter in the slots
While your outlet remains off, check if there’s still a presence of power left by inserting the plugs of the multimeter’s probes inside the vertical slots — black lead first, then the red lead.
If it reads zero, then your outlet’s safety is acceptable and still working. You can now press the RESET button to turn the power on and proceed with measuring your outlet’s voltage.
Step 3. Measure the outlet’s voltage
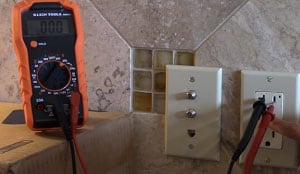
In this step, you aim to determine if your GFCI outlet is transmitting the proper voltage. Remember to set the AC voltage of the multimeter to the max scale.
If you’re working on a single-pole breaker, you should be able to read 110 volts, while double-pole breakers should have 220 volts. However, if you’re still getting an absent reading, you’ll need to check the wiring inside.
Related: A quick comparison between single pole vs double pole.
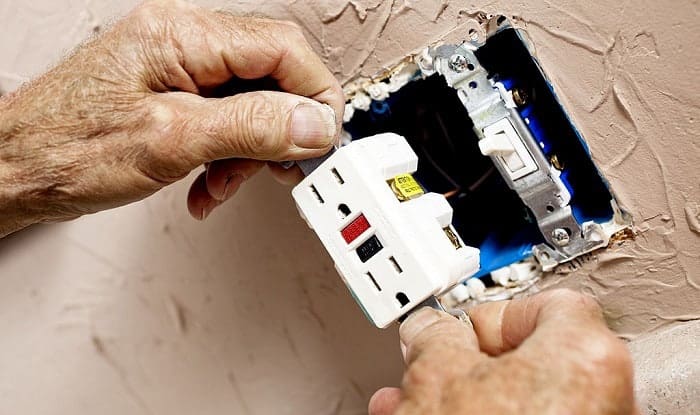
Step 4. Check the outlet’s wiring
Before you dismantle your outlet for wiring inspection, make sure to turn off the power supply from the main electrical panel. After doing so, check if there are any misconnections or switched wires.
You have the correct wiring connection if the black wire connects to the “line” pair of wires and the white wire to the “load” pair of wires. The colors should match — black to black and white to white.
Also, double-check if the wire nuts fasten securely to the connectors. Lastly, revive the electricity and carefully recheck if the outlet’s voltage is correct with a multimeter.
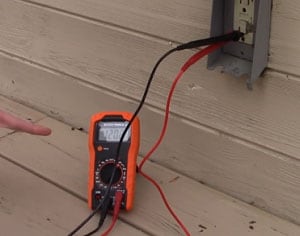
Step 5. Check if the outlet is properly grounded
This procedure is the same as measuring the outlet’s voltage, except the black lead of your multimeter is placed inside the ground (U-shaped) slot of the GFCI.
If the outlet’s properly grounded, the voltage reading will be the same. Contrarily, if your multimeter reads a different voltage than intended, it is not grounded correctly or has reverse wiring.
Don’t forget your monthly task of troubleshooting GFCI breaker. It is a necessary thing to do for the sake of your safety. Remember to change the outlet if it’s not working like it used to; it might give up on you anytime without your knowledge.
Conclusion
Did you find this tutorial to be engaging? A Ground Fault Circuit Interrupter can be tricky to troubleshoot. It is somewhat impossible to see where the fault is instantly by simply using the manual-testing method, so a multimeter is an efficient and safe tool at your service.
Now that you know how to test a GFCI breaker with a multimeter, apply the knowledge of using this tool for other electrical problems around the house.
What do you think about this step-by-step article? Comment below and share with us your thoughts as we’re happy to hear them from you.
Related guide:

I am Andrew Wright. With 8 years of experience designing, installing, and maintaining electrical power systems. I love my job, and I have always wanted to offer others the necessary help so they can take care of their houses.