
A circuit breaker is a useful device for every circuit in an automobile. Compared to a fuse, a breaker provides more long-term protection as it is extremely reusable.
In this case, you may want to use breakers when adding a different attachment to your car or any vehicle.
If you want to learn how to install a 12 volt circuit breaker for your automobile, here’s an easy guide as well as answers to some FAQs that will surely help you.
Table of Contents
How Do You Install a 12-volt Circuit Breaker Step by Step?
A 12-volt circuit breaker, also known as a shortstop or auto reset circuit breaker, is good for providing safety to vehicle electronics. It is excellent to use when adding accessories such as additional lighting or any 12-volt device.
If you want to learn how to install this car circuit breaker, here are the tools and guidelines to follow.
What To Prepare
- Wire for your breaker
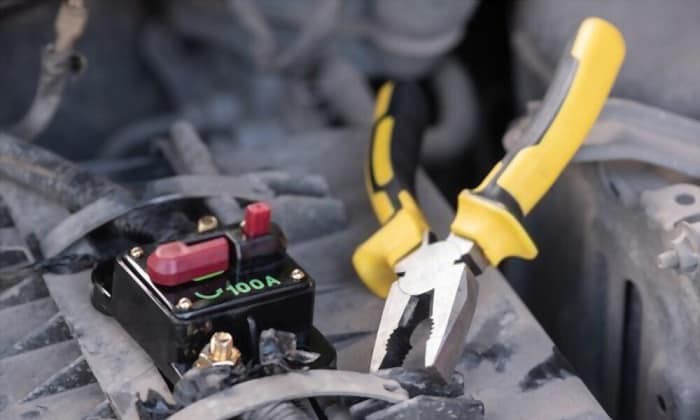
- Shortstop breaker with the right amps for the load you need
- Accessories you want to install (for example, additional lights)
- Crimper and terminal connectors
- Wire stripper and wire cutter
- Power supply or battery
Setting Up 12 Volt Wiring for Dummies
Step 1. Prepared the Wires
In automotive wiring, two-way connections or positive and ground connections are often utilized. As a result, you need to use two different wires for this tutorial.
- While measuring the wire, it is better if you can already set the accessory in the desired spot. At the same time, using the breaker’s standard mounting bracket, you can attach it to the proper location.
When mounting a breaker, placing the copper stud or terminal face towards the power supply is recommended, as this is where the positive connection will be established.
- After that, you can measure the required length of the wire. Start with a straight wire from your accessory to the ground supply and another to the breaker. Then, measure a wire from the breaker to the power supply.
- Make sure your cable is long enough to reach the locations where your attachment and breaker are. Furthermore, consider how you lay the wire as well for better cable management.
- Pro tip: Using black and red wires to identify positive and ground connections quickly are convenient. This could be useful while doing a repair or troubleshooting an electrical connection.
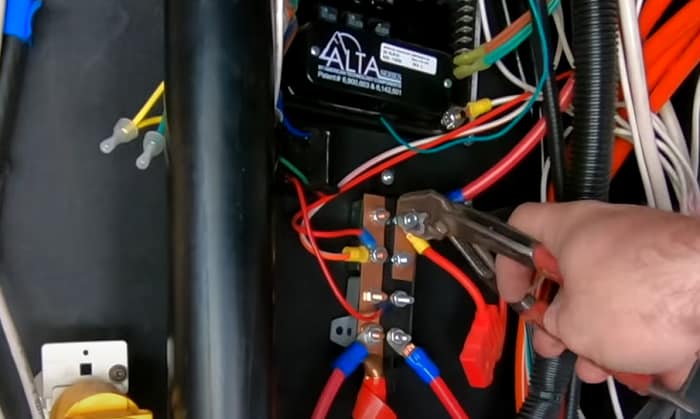
Step 2. Connect the Wires
- When all the wires are prepared, you can start installing their connections. However, you first need to put in place the terminal connectors for all ends of each wire. You can do so with the help of a wire stripper and crimper.
- And for the terminal connections of the breaker, I highly suggest using ring connectors. This way, you can ensure the setup is secure and won’t loosen easily.
- After putting all the terminal connectors in, you can now connect and secure each connection.
- First, connect the ground terminal of the accessory up to the ground supply.
- Then, connect circuit breaker to battery and accessory using the positive connection.
Step 3. Test Your Work
After connecting all the wires, you have finally finished installing the circuit for your accessory. It is now time to check your work to see if it functions.
You can turn on your accessory to see if it works properly. If it does, you can now enjoy your newly installed attachment.
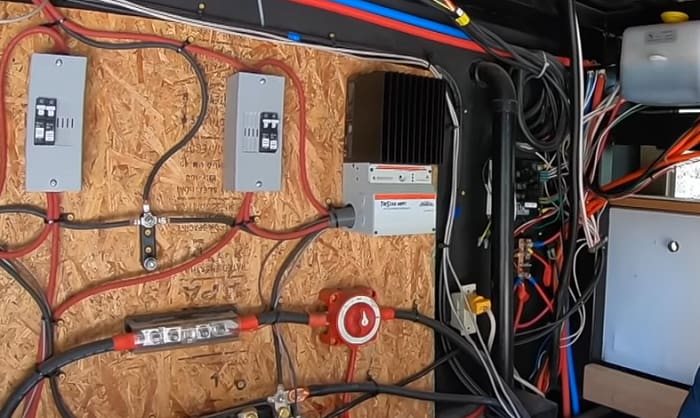
However, in some cases, accessories for the vehicle are not easy to install. Examples are devices with multiple wirings and a 12 volt circuit breaker panel for RV electricals.
The latter may require a wiring diagram, which is difficult to understand, especially for some beginners. For this reason, it is good to call a professional to do this type of job.
FAQs
Can I Install a Circuit Breaker Myself?
Yes, for some, installing a vehicle circuit breaker is an easy job. If you plan to install any basic attachment in your car, you can use the above guide to ease the process.
Are 12v Circuit Breakers Directional?
Direct current like the 12 volt power supply in cars only flows in one direction. In this case, the breaker or the shortstop is also made directional.
In fact, there are markings on the breaker that tell you which stud or terminal is the AUX side and which is the battery side.
What Wire Size Do I Need for a 12 Volt Circuit Breaker?
Typically, a wire size used for 12 volts ranges from 16 gauge up to 4 gauge for a length of 15 to 20 ft. A circuit breaker used for this wire size ranges from 5 amps up to 60 amps.
Conclusion
Because you wouldn’t need the service of a professional, knowing how to install a 12 volt circuit breaker will allow you to save some money and time. Hopefully, the guide above will be useful for beginners who want to add some attachments to their car.
However, suppose you think installing a circuit in your vehicle is complicated, and you are uncomfortable with it. In this case, calling a professional instead of doing it yourself is the better idea.

I am Edwin Jones, in charge of designing content for Galvinpower. I aspire to use my experiences in marketing to create reliable and necessary information to help our readers. It has been fun to work with Andrew and apply his incredible knowledge to our content.