
It’s necessary to replace circuit breakers when they get too old or malfunction. Unfortunately, without experience in electrical maintenance, homeowners often don’t know how to do so.
So, if you’re interested in learning how to install a 240v circuit breaker, you’re in the right place. Here, I’ll tell you about the needed tools and steps that you must follow in order to install a new breaker correctly.
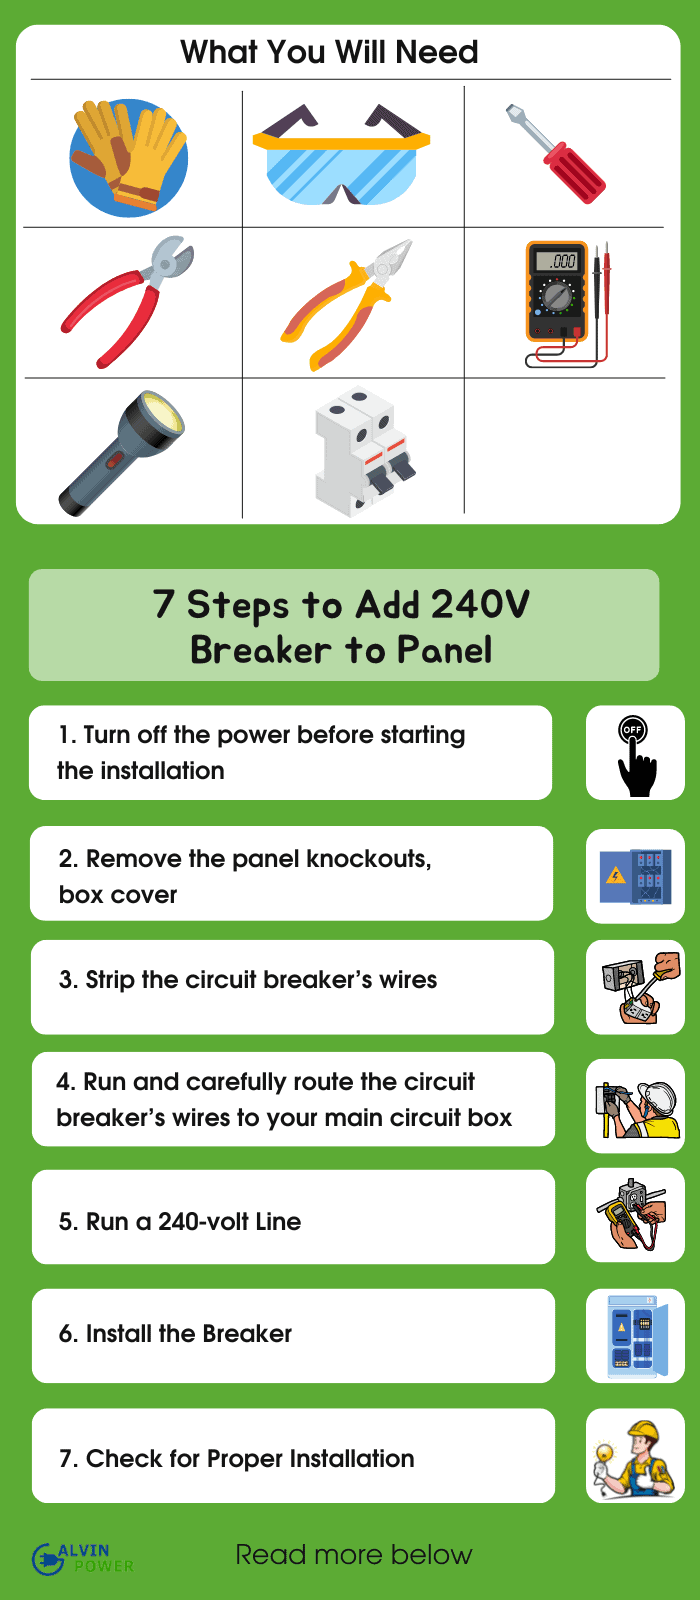
Table of Contents
What to Prepare in Installing a Breaker
Before getting on with your circuit breaker installation, these are the essential tools you must have to ensure a safe and seamless 240V breaker wiring project:
- Electric safety gloves
- Safety glasses
- Insulated screwdriver
- Insulated wire strippers
- Insulated pliers
- Multimeter
- A strong flashlight, in case you install 240V outlet breaker in a dimly-lit place
- 30 amp 240-volt breaker or another amperage rating that suits your circuit
Step-by-Step Guide to Add 240V Breaker to Panel
1. Turn off the power before starting the installation
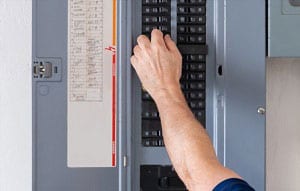
As a rule of thumb, turn off your home’s power before you wire a 4-wire 240v circuit breaker. This is done as a safety precaution in order to prevent accidental electrocution while working on your breakers.
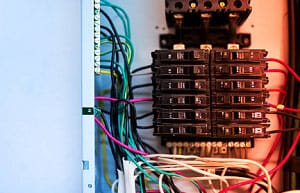
2. Remove the panel knockouts, box cover
After doing the previous step, it is now time to find space to wire 240V breaker.
In short, remove the breaker box’s front cover by unscrewing it. This enables you to work on the back side of the circuit box, so you can wire 240V single phase breaker without any difficulty.
Then, take out some knockout tabs with a screwdriver to create slots for the breaker to sit in.
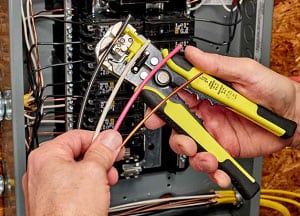
3. Strip the circuit breaker’s wires
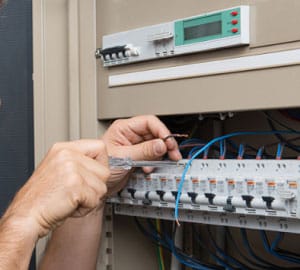
In order to seamlessly connect the circuit breaker’s wires, you should first remove the insulation tips of the cables to expose the copper conductors and feed them into the circuit box.
You can do this by using the insulated wire strippers and removing at least a ½ inch of the NM cable’s sheath. Then, connect it to the main electrical clamp of the breaker box.
Don’t forget to remove all the sheaths on the hot, ground, and neutral wires as they will all need to be connected to the breaker box.
- Run and carefully route the circuit breaker’s wires to your main circuit box
After exposing the conductors of the wires, you can now route them into their respective positions.
This is done so that the cables within the breaker box are neat, allowing you to easily troubleshoot faulty breakers later on.
As a tip, you can refer to a 240v circuit breaker wiring diagram to easily position the wires in their proper places.
5. Run a 240-volt Line
Loosen the terminal screws and bus bar screw lugs so that you can insert the tips of the wire fully.
Following the 240 volt wiring diagram:
- Connect the two hot wires to their corresponding terminals in the circuit box.
- The same goes for the neutral wire. Put it into the neutral bus bar commonly located on the side of the breakers.
- Lastly, install the ground wire into the ground bar like what you did with the neutral wire. You can find the ground bar touching the panel chassis.
As a reminder, you should fully connect the exposed tips of the wires fully into their respective terminals.
After that, tighten the screws that will hold the wires to prevent them from loosening in the future.
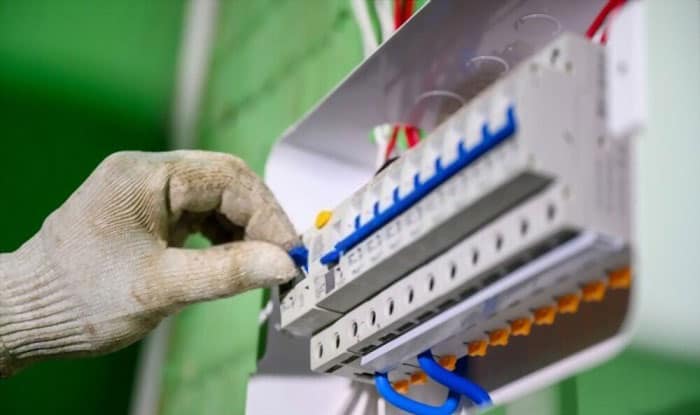
6. Install the Breaker
With the wires connected, it’s now time to install the breaker. Do this by slightly tilting the breaker so that it can fit in the allotted space.
After that, ensure that the end hooks of the breaker’s connectors are in line with the mounting bar.
Once you have it lined up, push the breaker down until you feel it snap into position. After that, check the firmness of your installation by feeling the breaker and examining if it’s still loose.
7. Check for Proper Installation
After doing all of the steps above, it’s now time to check whether your installation was done correctly or not.
To do this, you must restore your home’s electrical power by shifting the breakers’ position into “on.”
If your home regains normal circuit activity, that means you have successfully installed your new circuit breaker.
FAQs
What is the Difference between an Outlet and Circuit Breaker?
People that aren’t that well-versed in electrical components could find it difficult to discern the difference between an outlet and a circuit breaker.
Nevertheless, I’ll provide a quick run-down to differentiate the two electrical instruments.
- Circuit Breaker
In essence, a circuit breaker prevents the onset of any electrical mishaps from happening. They are responsible for regulating the flow of electricity – ensuring that the load flowing through the lines is within the normal range.
It is precisely a safety switch that interrupts electricity when faults are perceived. Due to the intrinsic role of the said instrument, house building regulations require the installation of breakers in the construction of structures.
- Outlet
Outlets, meanwhile, are electrical instruments that allow house appliances to connect to a structure’s electrical grid. This is done through wall sockets, providing appliances with a place to connect their plugs.
For appliances that are electrically intensive such as washing machines, dishwashers, and mechanical instruments, a 240V outlet installation is commonly required to ensure the integrity of the building’s electrical grid.
How many Poles does a 240V Circuit Breaker have?
Circuit breakers are often categorized not only by their capacity to carry certain voltages, but also by the number of poles that they have.
Specifically, poles dictate the total capacity of a breaker to carry and safeguard the circuits they regulate.
Now, there are two types of poles: single-pole and double-pole breakers. Single-pole breakers are capable of carrying up to 120 volts of electricity. Meanwhile, double-pole breakers are able to operate at 240 volts.
In terms of appearance, single-pole models are thin and single-switched. On the other hand, the latter type of breakers are often designed to be bulkier and occupies more space.
When observed side-by-side together, it is visible what single-pole and double-pole breakers are – helping unknowing homeowners discern what type of device tripped.
Like what was previously mentioned, double-pole breakers are often used to regulate the electrical consumption of electrically-intensive appliances, while single-pole types are reserved for minor appliances.
Conclusion
You can learn how to install a 240v circuit breaker quickly, since the tools for this task are easy to acquire and the steps are simple enough for an average homeowner.
That said, if you have any questions or concerns about installing breakers, please don’t hesitate to write them down in the comment section below.

I am Edwin Jones, in charge of designing content for Galvinpower. I aspire to use my experiences in marketing to create reliable and necessary information to help our readers. It has been fun to work with Andrew and apply his incredible knowledge to our content.