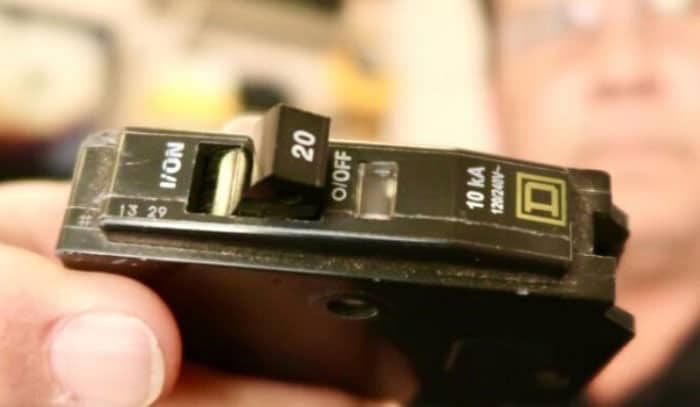
A 20-amp single-pole circuit breaker is mainly used for house lighting or to power up a standard 110 outlet. Knowing how to install a single pole 20 amp breaker is a necessary process that you should know about, as you can use it to split the devices from one circuit to prevent circuit overloads.
Everyone can learn the process of adding a single-pole breaker box to a house electrical system. Even non-professionals can do this job. However, you must be well-prepared to complete the process properly. Read this article to learn more about the tools and methods you need to follow.
Table of Contents
Tools You Need
Here are the tools you need to wire a 20 amp breaker to your electrical system
- Set of screws for tightening and loosening the screws and terminals
- Plier and hammer for taking out the knockout cover
- Rubber gloves for additional protection
- Non-contact voltage tester for checking the line for presence of electricity
- 20-amp single pole circuit breaker for installing a new circuit
- Side cutter for splicing the wire
- Wire stripper for exposing the wire end
- Strain relief for wire protection
If you’re not using a conduit for your circuit, you’ll definitely need strain relief tools. Strain relief is useful for protecting your cable from the knockout hole’s metal edges.
Any strain relief can be used, but the metal kind with a wire lock is preferred as it is very secure.
Step-By-Step Guide of How to Install a 20 Amp Single-Pole Circuit Breaker
You can research a 20 amp breaker wiring diagram online if you need a reference for the electrical wiring.
To avoid electrocution, always remember to turn off the main breaker and use rubber gloves. Now, here is the circuit breaker installation guide for adding a new 20 amp single-pole circuit breaker to your circuit.
Step 1. Remove the Panel Cover
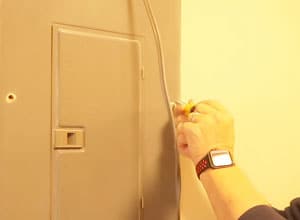
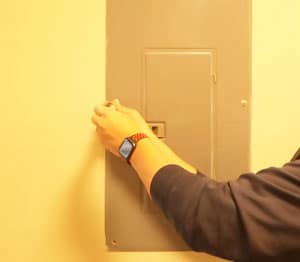
Unscrew all four edges of the panel cover with your screwdriver while holding it tight to prevent it from slipping off.
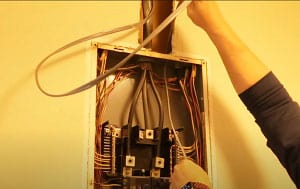
Next, remove one knockout cover with your pliers where your wire needs to be inserted. You can now insert the wire to the strain relief and lock the clamp using your screwdriver.
Step 2. Connect the Ground and Neutral Wires
As you can see when you search a single pole circuit breaker wiring diagram, you will see three wires. The ground is copper or green, the neutral is white, and the hot wire is black.
You will only need to connect the neutral and ground wires in this process. Remove the wire jackets to expose the wires.
Using your side cutter, cut the ground wire with the length up to the ground bar and connect it.
For the neutral wire, measure the needed length for the neutral bar, cut it, strip the wire end, and connect it to the neutral bar.
Step 3. Install the Breaker
Since this circuit is only using a 12-gauge wire, you can start wiring a 20 amp breaker and the hot wire first before installing it into the panel. If you use a 10 gauge wire, consider choosing a 30 amp breaker.
Measure the length of the cable up to the circuit where the breaker will be installed.
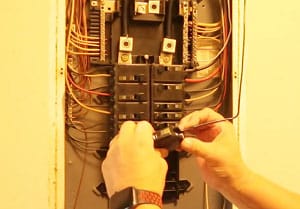
Connect the wire end to the circuit breaker terminal after stripping it. The circuit breaker can now be snagged to the panel board.
Step 4. Put Back the Panel Cover
Before putting back the cover panel, ensure that all the wires are properly aligned to keep them organized.
Make sure that there is no pinched wire when you put back the cover panel. After that, close the cover and activate all of your circuit breakers.
Tips: When turning on the power supply of your breaker, start from the main switch. Turn on the main breaker and then turn on your new circuit breaker.
This way, you can avoid a power surge when electricity is suddenly turned on. It would also be helpful if you watched this video by Dan Jiles to see how the process can be done correctly.
What Is the Difference Between Single-Pole and Double-Pole Circuit Breakers?
A single-pole circuit breaker refers to a single circuit with only a 120 volts power supply. It is primarily used in various lighting systems as well as typical household appliances.
On the other hand, a double-pole circuit breaker is a circuit with a 240-volt power source. This circuit breaker is mainly used for high-powered devices and equipment that require a dedicated circuit.
Find out in detail the difference between single pole and double pole here.
Conclusion
Learning how to install a single pole 20 amp breaker is an easy process that can be done, even if you aren’t someone specializing in the electrical field. Furthermore, this process can prevent overloads from damaging your circuits.
Do you find the guide above helpful? Why don’t you share this article on social media so your friends can see this tutorial? It would also be beneficial to others if you shared your thoughts in the comment section.
Read next: Total Cost to Install a 20 Amp Circuit Breaker

I am Edwin Jones, in charge of designing content for Galvinpower. I aspire to use my experiences in marketing to create reliable and necessary information to help our readers. It has been fun to work with Andrew and apply his incredible knowledge to our content.

