
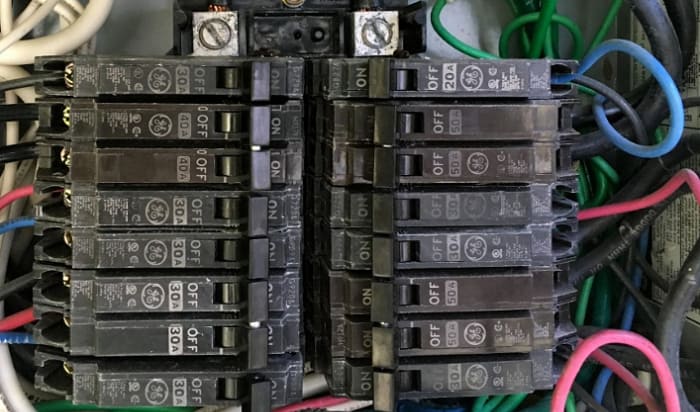
Make no mistake, iinstalling arc fault breaker without pigtail defeats the purpose of an AFCI, as you need the neutral pigtail for it to function fully. Your best bet is an AFCI plug-on breaker, which requires a specific plug-on panel that fits that newer breaker type.
I’ll explain what happens if you don’t use the pigtail and share the steps on how to install a plug-on AFCI below.
Table of Contents
- What Will Happen if You Don’t Connect a Non-Plug-on Afci Neutral Pigtail?
- Installing an Afci Plug-on Breaker That Doesn’t Need a Pigtail
- Step 1. Cut the power to the breaker then remove the panel’s cover with a screwdriver.
- Step 2. Remove the old circuit breaker (if there’s one).
- Step 3. Locate the load center neutral bar and slide the new AFCI breaker in place.
- Step 4. Attach the white and white to the breaker and the ground wire to the ground bar.
- Step 5. Turn the power back on.
- Tools to Prepare
- Conclusion
What Will Happen if You Don’t Connect a Non-Plug-on Afci Neutral Pigtail?
It’s like operating an AFCI with no neutral. GFCI and AFCI breakers will most likely just function like standard breakers. They may even trip frequently if you decide not to use the included neutral pigtail. It’s in the NEC for that very reason.
A double-pole may still work, especially if you want to install a GFCI breaker without a pigtail. Still, it won’t be able to detect neutral imbalances and may always trip if it detects a difference in the current. It’s not practical, in short.
If you don’t want to use an AFCI with a pigtail, some will suggest you just use a standard circuit breaker. That completely goes against the National Electric Code’s latest guidelines, though.
Installing an Afci Plug-on Breaker That Doesn’t Need a Pigtail
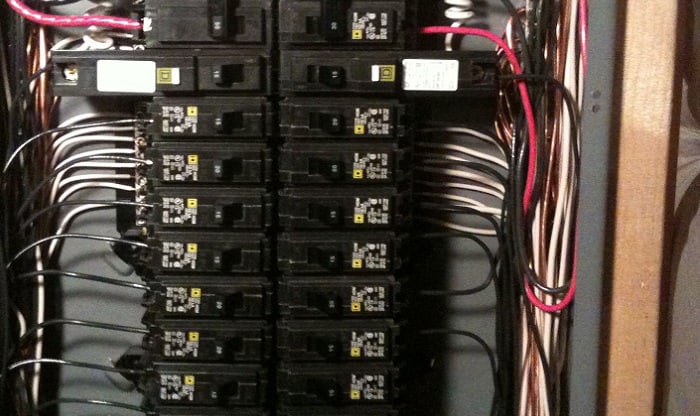
Compared with standard non-plug-on AFCI breakers, plug-on AFCI breakers are quicker to install and tend to be neater. The latest models tend to be labeled as CAFI (or combination arc fault interrupter) since they provide protection against both parallel and series arcing. Another plug-on option is a dual protection GFCI/AFCI breaker, which has a self-explanatory function.
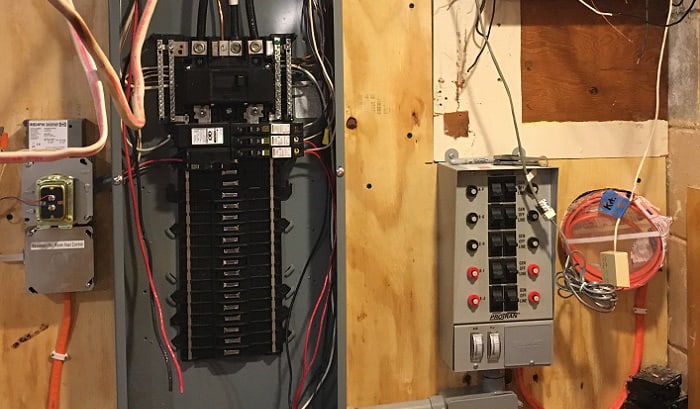
Electricians prefer plug-on neutral panels to be installed in new homes for these reasons. The best perk is it lessens their work time since they’ll only need to clip it onto the plug-on breaker’s neutral bus.
Are you sure you have a plug-on panel? Double-check it by using this video as a visual reference:
These steps assume you have that kind of panel and the appropriate plug-on AFCI breaker that fits in it. Here’s how to install it:
Step 1. Cut the power to the breaker then remove the panel’s cover with a screwdriver.
Arc fault breaker installation and wiring an arc fault breaker are both risky endeavors so you have to make sure that there are no live wires. I suggest you wear insulated footwear for better safety and peace of mind while working.
After turning off the panels’ power supply, remove the panel by using a screwdriver, electric or otherwise. Verify that the panel’s power is down and that there are no longer any hot spots by using a multimeter.
Step 2. Remove the old circuit breaker (if there’s one).
If there isn’t any to remove, then just skip to the next step. Simply unclip the old breaker by pulling it up. Unscrew the hot and neutral wires attached to it, then pull them out. Use an arc fault breaker wiring diagram as a reference to know where these wires are attached, so you’ll also get an idea of how to wire the new one.
Step 3. Locate the load center neutral bar and slide the new AFCI breaker in place.
A plug-on panel or load center has a fully distributed neutral bar installed on it. The space between the two screws is where you’ll be clipping the “jaw” of the plug-on breaker.
If you look closely at a plug-on panel, you’ll notice that there’s a breaker rejecting feature that ensures you’re only using the correct breaker on it. The plug-on AFCI breaker should smoothly slide in place when you clip its jaw onto the bar and the spring-loaded clamp on the breaker should attach to the main bus.
A firm downward push should suffice to connect the breaker to the load center.
Step 4. Attach the white and white to the breaker and the ground wire to the ground bar.
Loosen the breaker’s silver-coated terminal then attach the white wire to it. Do the same for the bronze-colored black wire. Be sure to torque (in pound inches) the screws according to what’s recommended by the breaker’s manufacturer via the nameplate.
A sticker in the panel has the same information when installing the ground wire. Follow the torque you need to apply based on the wire size and material (whether it’s copper or aluminum). The ground bar is smaller with the same dual screws located near the neutral bar.
Step 5. Turn the power back on.
With the installed AFCI breaker, you can now replace and re-screw the panel cover. Test the new breaker by pressing the button that indicates that. Its switch should quickly turn to the Off position.
Once you’ve confirmed, don’t forget to turn the switch to the On position before going.
Tools to Prepare
Make sure your panel accommodates a plug-on AFCI breaker. Otherwise, you have no other option but to buy an AFCI with a pigtail.
- Plug-on AFCI Breaker or Dual Function Breaker
- Screwdriver
- Multimeter
- PPEs
Conclusion
To wrap things up, you need to have a plug-on AFCI breaker and a plug-on panel when installing arc fault breaker without pigtail. The clip and wire method outlined above is fairly straightforward, so simply follow it to a tee for guaranteed results. You can also use the steps outlined above to install a dual-function AFCI GFCI circuit breaker or individual plug-on breakers.

I am Andrew Wright. With 8 years of experience designing, installing, and maintaining electrical power systems. I love my job, and I have always wanted to offer others the necessary help so they can take care of their houses.