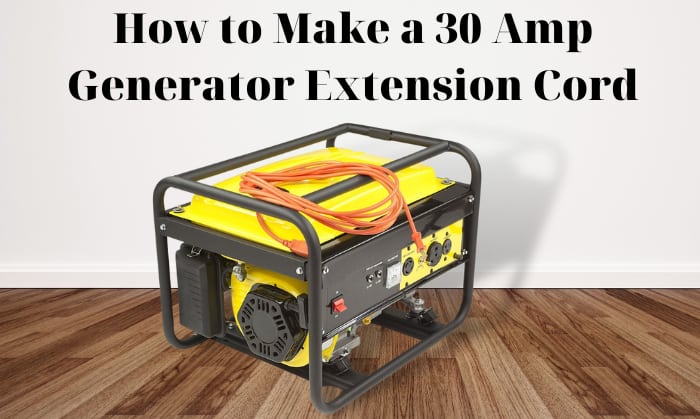
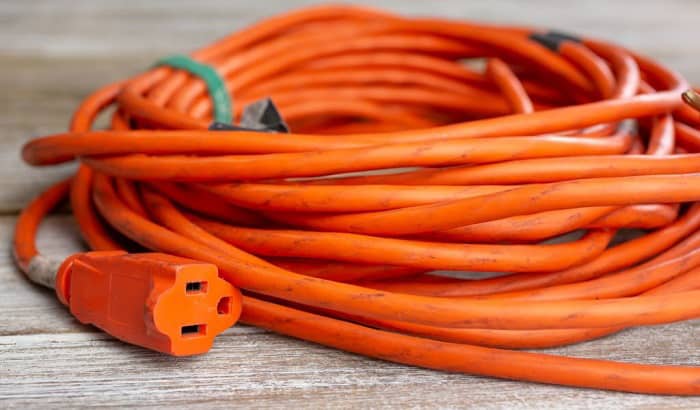
Connecting a 30 amp generator to an appliance requires an extension cord. Whether you want to power your lights, laptop, or other gadgets, you’ll need this cable.
Now, you can easily purchase an expensive one in pretty much any hardware store.
However, if you know how to make a 30 amp generator extension cord, you can save some money and be very sure of its quality. Follow the guide below.
Table of Contents
Tools Needed to Make 30 Amp Generator Power Cords
To start making your own extension cord for generator, here are the tools you need.
- 10 gauge 30 amp generator cable with four conductors
For a 4 prong 30 amp generator cord, you can use a wire length of up to 65 feet. Such a cable can power up appliances with a maximum current of 7200 watts with a rating of 240 volts.
- 2 pieces of four-prong plug (Male and Female)
- Screwdriver for assembling all the parts
- Wire Stripper to precisely cut the wire for the terminal connection
- Cutter knife for stripping the cord cover
- Multimeter for checking the connection of both end terminals
After preparing all these tools, you are now ready to start the process of building your 30 amp portable extension cord.
Steps to Make a 240v 30 Amp Extension Cord
Step 1. Disassemble the female plug and prepare the 4-conductor cable
- To begin, disassemble the female plug with your screwdriver to separate its protective shell and gasket.
- Then, you can cut 1 ½ inches of the cord insulation. When the insulation is finally removed, you can trim the paper threads, but be careful not to damage the wires.
- Now that the inside of the cable is exposed, it is time to strip each wire at about half an inch. When using a wire stripper, ensure that the cutting size is 10 gauge to prevent damage.
Step 2. Connect the Wires to the Female Plug
Now that the wires are ready, you can now install them in each terminal. If you don’t know how to set them up, you can simply follow this guide:
- Green wire – Ground or G terminal
- White wire – Neutral or W terminal
- Red wire – First hot wire or X terminal
- Black wire – Second hot wire or the Y terminal
- Pro tip: Most professionals use wire ferrules to make the wire threads more solid and easier to insert into the terminals. However, if you don’t have these tools, you can just twist the wire before inserting it into each terminal.
Step 3. Assemble the Parts
- After securely connecting each wire to each terminal, you can now finish your work on the female end of your extension cord by tightening the screws.
- Next, you must slide the cover shell/gasket over the plug. Also, note that the gasket makes the plug waterproof and prevents dust from entering it. That is why it should be properly positioned.
- After that, you can install the clamp and tighten all the screws. It’s time to work on the other end of the wire for the male plug.
Step 4. Repeat Steps 1, 2, and 3 for the Male End and Test the Connection
For the male plug, you can simply repeat the process of the female plug installation.
And after installing the male part, it is also a good idea to test your work. Specifically, you can use a multimeter for the continuity test.
To do this, set your multimeter in continuity mode and check each pin to ensure it is properly connected. After making sure all connections work fine, the power cord for the generator is now ready to use.
How to Determine the Capacity of an Extension Cord?
Knowing the extension cord’s wire gauge allows you to assess its capacity quickly. The thickness of the wire determines how much current or wattage it can carry without being damaged.
In other words, the larger the cable, the more electricity it can hold. You can easily find the gauge of the wire by searching for a printed AWG label on its insulation.
Can I Connect Power Strip or Regular Extension Cord Directly to Generator?
Most portable generators today have 15 amps 120-volt outlets, making it possible to connect them to a regular power strip. Ensure that the devices you need to connect are not so powerful that they may exceed the generator outlet ratings.
Conclusion
Knowing how to make a 30 amp generator extension cord will help you save some money. Furthermore, you can also ensure that your custom-built power cord has the best quality compared to the ones sold on the market.
Now that you have the guide to make a 220 volt 30 amp extension cord, do you think you can do it? If there’s a part of the guide that gives you a bit of confusion, please let us know in the comment section below, and we’ll be happy to assist you.
Related Guide:

I am Edwin Jones, in charge of designing content for Galvinpower. I aspire to use my experiences in marketing to create reliable and necessary information to help our readers. It has been fun to work with Andrew and apply his incredible knowledge to our content.


