
For a house to function and be comfortably liveable, it must have the following: plumbing and electrical setups. However, for the focus of our article, we’ll pay closer attention to the latter – our home’s electrical system.
As our property’s circuit is concerned with regulating the flow of electricity to and from our abode, each and every homeowner must be knowledgeable in dealing with the specifics of circuitry.
If you’re looking forward to learning how to measure amps on 240V circuit, then you are in the right place.
Put simply, you’ll need a multimeter and a basic understanding of electricity and its components.
Table of Contents
What to Prepare to Check Amp Draw
In order for you to measure 240v amperage, you’ll need to have the following tools and instruments:
- Electric safety gloves
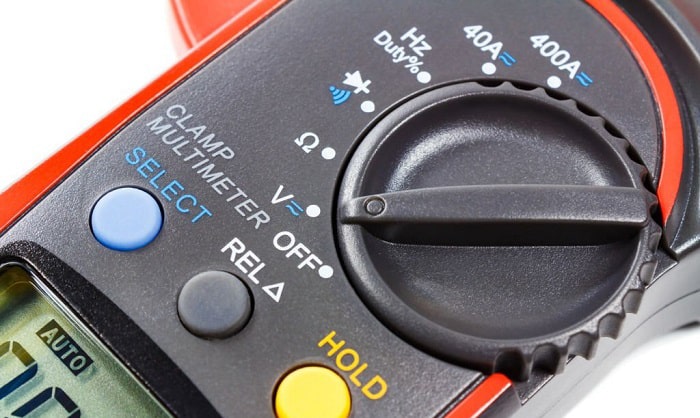
- Clamp-on digital multimeter
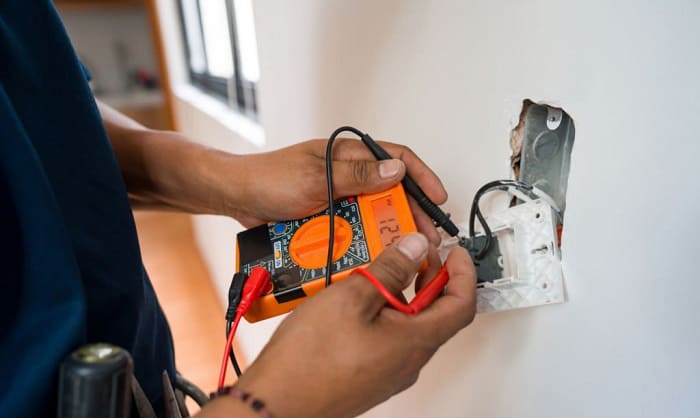
I recommend that you wear electric safety gloves before attempting to measure amp draw with clamp meter so that you wouldn’t be accidentally shocked.
A Step-by-Step Guide
I’ve listed these particular steps so that you won’t have a difficult time measuring a 240v circuit with multimeter.
Step 1: Determine the type of current
To give you a brief idea, there are two types of electric current: Alternating Current (AC) and Direct Current (DC).
Knowing what type of electric current running through your circuit is important, as this determines the current setting you should use for your multimeter. If you live in the United States, there is a high chance that your circuit is running AC current.
Step 2: Select the electric multimeter setting
After that, set your clamp multimeter to its ammeter setting (AC in the above example) so that the device would read the current flowing through your selected circuit.
Step 3: Set the ammeter range
Selecting the ammeter range basically ensures that your multimeter would register a reading of the total current running through a circuit.
I recommend that you place the range to the maximum reading possible for your device.
If you can’t get a reading after setting the multimeter in the maximum range, you could check the maximum amp rating of your appliance or circuit.
If it’s higher than what your measuring device can handle, switch to another multimeter.
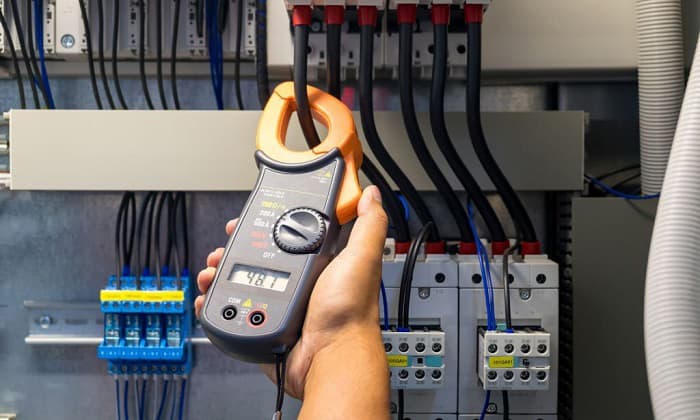
Step 4: Clip the jaws of the multimeter to the breaker
This is the tedious part of measuring the amperage within your circuit. I emphasize that you slowly and carefully do this step to prevent any electricity-related accident.
With that in mind, clamp the jaws of the multimeter to the connecting electric wire below the breaker. You should get a reading after doing this step successfully.
However, if you can’t get a reading, do refer to my note in the step above.
Just to add, these are the expected ampere readings for the circuit you’re testing:
- Connected appliances to the circuit are turned off – no reading / zero ampere
- Light consumers of electricity are connected and operating – usually less than 1 ampere
- An appliance with a compressor such as refrigerators and air conditioning units – high amperage reading
Related:
- Detailed guide to test a circuit breaker with a digital multimeter
- Testing a GFCI breaker with a multimeter – Easy steps
Baseline Knowledge in Measuring
In testing and trying to wire 240v circuit, it is vital that you establish an understanding of the electrical concepts that govern your home’s circuitry.
For this section, I took the liberty of introducing you to the three main units of electricity: amperes, volts, and watts.
1. Ampere
Ampere, often shortened to amp, is the measurement of the total number of electrical charge that is coursing through a circuit in a second. This unit determines the number of electrons that are present in a circuit.
You may also see this metric written as “A” in appliance specifications.
2. Volt
Volt is the unit determining the strength of the pressure being applied to the electrons in a circuit. In other words, voltage, abbreviated to volts or V, is the force that causes an electron to move around.
3. Watt
Watts, or wattage, meanwhile pertains to the unit of power indicating the totality of current flowing in a circuit or electric system. It is basically the measure of electricity that an appliance consumes.
4. Ohm
While the previously-mentioned electrical concepts detail the movement of electricity in a circuit, Ohm vastly differs as it is the measure of resistance in an electrical unit.
Conclusion
Determining the amount of current flowing through a circuit is important as it gives us information regarding the power that is being consumed in an electric system.
Hence, knowing how to measure amps on 240v circuit should not only help you know the current flowing in your circuit – it also helps you understand its state — whether it’s using too much or too little power. It was in this spirit that I wrote this article.
Any confusion regarding the information here? If there is, please don’t hesitate to ask questions in the comment section. You can also add to this article by writing your thoughts below.

I am Andrew Wright. With 8 years of experience designing, installing, and maintaining electrical power systems. I love my job, and I have always wanted to offer others the necessary help so they can take care of their houses.