
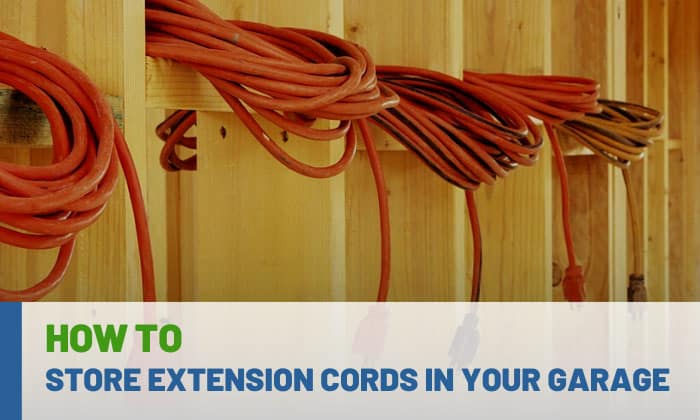
More than we’d like to admit, extension cords can be a pain to handle if not stored properly. Once they tangle up, they can make you dirty and delay your work. They can even harm you and your property courtesy of fires and trips.
This is why I’ve taken the initiative to write this guide for those looking for a better guide on how to store extension cords in your garage.
It explains one, efficient way of using a cord winder, and one failproof toolless strategy.
Table of Contents
Tools to Prepare
For the Daisy Chain method, you’ll only need the extension cord itself. For the other method, you technically just need a cord winder and the extension cord.
Indeed, if you’ve been looking for solid ways to store, handle, and organize extension cords in garage, stick to these two methods.
The Daisy Chain Method
To Be Clear: When I said “daisy chain” I most certainly did not mean using an extension cord in such a way (i.e. connecting two extension cords to lengthen your run), which is a dangerous setup. This method is solely concerned with how to roll up an extension cord.
If you’ve been braiding extension cord for a while now but aren’t getting satisfactory results, try this one out:
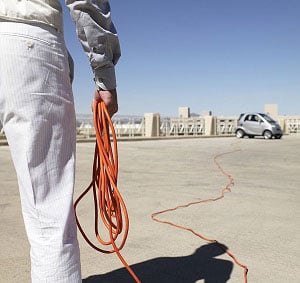
1. Straighten the cord.
To wrap an extension cord, you have to make sure your pulling and coiling action won’t lead to entanglement. Naturally, this is easier done if the cord isn’t looping and curling.
It’s better to do this in a spacious area, especially if you’re dealing with a long cord or attempting to store multiple extension cords at once. It also won’t hurt to clean the extension cord beforehand, so you won’t dirty yourself as you handle it.
2. Grab the plug end, head to the opposite power strip end, then grab the cord’s halfway point.

Insert the plug into one of the power strip’s sockets. Your cord will look like two wires running parallel to each other by this point.
Pinpoint the halfway point of the cord’s run then grab it in such a way that it will look like a noose. Size the “noose” for at least 6 to 8 inches, dropping and raising your hand as you hold it to make all the necessary size adjustments you need.
3. Start looping.
This is where the daisy chaining part starts. Basically, you create the chain by making one new loop from the previous loop that preceded it.
Begin by grabbing the top part of the noose and then looping it downward. Bring the rest of the cord through that 6- or 8-inch loop you created by pulling it.
You need to form a new loop with that motion, roughly the size of a cantaloupe, based on how you’re holding the coils in place. Now, using the hand holding the loop as your reference, bring another free part of the extension cord through it to make a new loop.
It should be easy for you to adjust the new loop for it to have the same size mentioned above. From here on, you only need to perform this action until you complete the chain.
Once you get to the end part where it’s plugged into the power strip socket, just insert it in the last loop to essentially lock the daisy chain. The end result is a strong and sound chain that will keep extension cords from pulling apart.
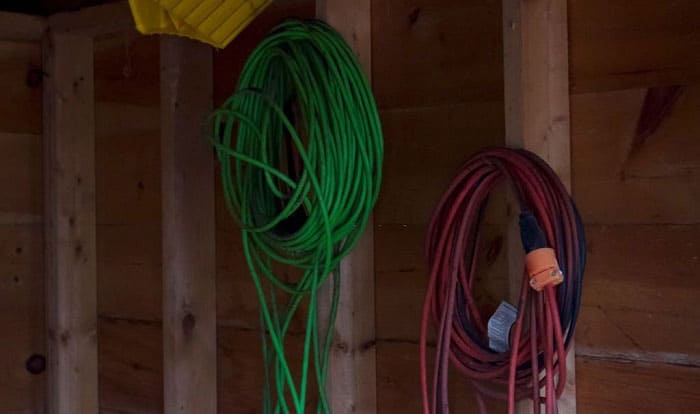
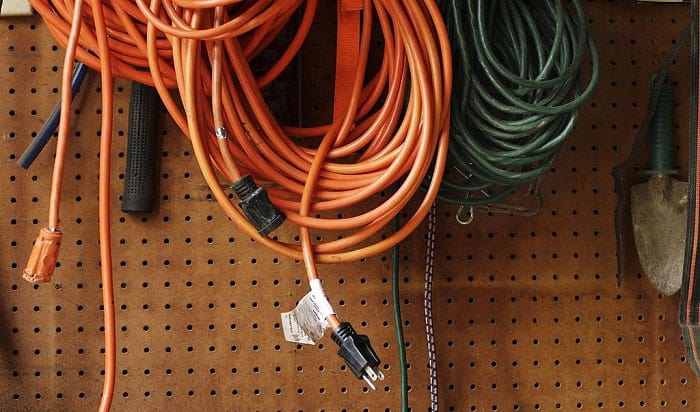
4. Store it in suitable locations.
Now, we come to the actual electrical cord storage. If you’ve got a space in your garage, you can just hang extension cords on wall with a nail or hook.
Save more space by folding it. Don’t worry about the cord getting tangled up, regardless of how many times you can fold it.
Once folded, other storage ideas include over a shelf, in a cabinet, or storage box. A mini storage rack can also be your next DIY extension cord organizer project so you can specifically store small extension cords, and vice versa.
Using a Cord Winder Is a Breeze
This second technique is as concise as it is effective and efficient. I get that some wind up extension cord products out there can be difficult to use because some offerings don’t coil the cord seamlessly.
However, I came across a video that pretty much remedies that issue for most. It involves drilling a hole at the center of the reel:
I consider this a smarter, more optimal setup if you don’t mind drilling a hole in your winder. I mean, you’re not exactly downgrading its capabilities but improving it further.
Basically, this is how it works based on what’s demonstrated in the video:
- Make sure the extension cord is not plugged into any outlet.
- Arrange the cord neatly. Start from the male plug end to the female socket end.
- Insert the plug through the hole drilled, making sure that the power strip will be positioned just outside the hole.
- Pull the cord into a straight line using the plug as your reference. Once done, you can now start winding up the cord by rotating the winder’s handle.
- Secure the wound-up cord then store it in any of the locations I’ve suggested above.
Pros and Cons of These Two Techniques
Pros
- Easier storage and space-saving
Both of these methods remove the hurdle of cords ending up in a tangled mess while occupying as little space as possible.
- Both are relatively neat, but the cord winder arguably wins here
Cord winders house the extension cord better and obviously have neatness a priority in their design.
- Can be readily uncoiled for deployment
The other techniques can lead to tangle and coil the extension cord, which isn’t an issue with either of these two.
- Allows you to conveniently deploy only the length you need
The daisy chain strategy lets you keep the cords looped and just free up the length you need for the moment. Once done, you just have to find the end of the freed-up cord and begin re-looping!
Cons
- Some cord winders need to be modified
FAQs

The importance of storing extension cords in your garage
Besides being normally spacious, a garage keeps them safe from damage. It’s also an area the residents of any home don’t particularly frequent, leading to fewer risks of tripping and other hazards.
More importantly, most garages are heavy-duty and can secure their longevity as a result.
What’s the best way to store extension cords?
Once they’re winded up properly, they can be stored in the best areas I’ve mentioned above. I especially recommend hanging it up in the garage once you’ve daisy-chained it or putting it in a heavy-duty storage box.
Where should indoor extension cords be stored?
The garage will always be everyone’s first pick. Again, it can be wall-mounted or stored in a box. Otherwise, a basement or shed, if it’s available, will do great, too!
Conclusion
Here’s the summarized take on how to store extension cords in your garage:
- Pick either the daisy chain or cord winder method. Either will do based on the pros and cons.
- If going for the former, straighten the cord then insert the plug into one of the power strip sockets.
- Modify the winder of the cord if necessary.
- Either loop or wind it based on your chosen route.
- Secure then store.

I am Edwin Jones, in charge of designing content for Galvinpower. I aspire to use my experiences in marketing to create reliable and necessary information to help our readers. It has been fun to work with Andrew and apply his incredible knowledge to our content.