
High-demand appliances, such as stoves, often need more than 110V circuits to run properly. A 220V breaker wiring can be a good solution for this concern. But you need to learn how to wire a breaker box for 220V outlets first.
Make sure that you have sufficient confidence and knowledge in attempting this project. Consult a 220V breaker box wiring diagram whenever necessary to reduce the risks of serious consequences.
Continue reading as this post will help you complete this task and prevent complications during and after finishing this task.
Table of Contents
Step-by-step to Wire a Breaker Box for 220v Outlets
What to Prepare
- Wires: 220V breaker wiring often demands a 10-gauge wire, particularly if you’re trying to connect a 30-amp appliance. Otherwise, make sure to calculate the correct size wire to use for your device’s amperage to avoid problems.
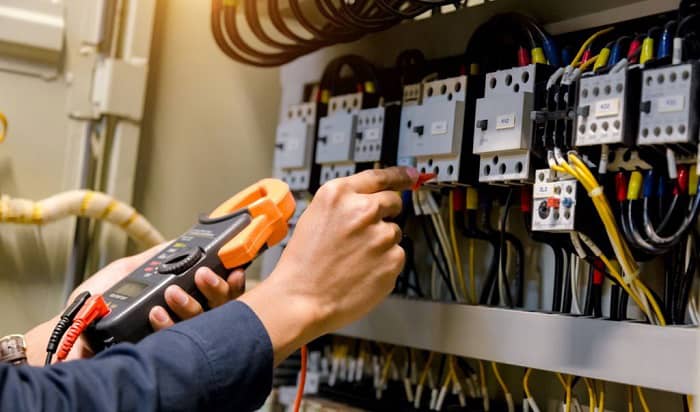
- Voltage tester: Used to check if electricity is running through the wires. You can use this tool to see if you need to fix certain issues before you hook up 220V in breaker box.
- 220V outlet: Generally, this voltage rating for an outlet is the most powerful one you can find in most residences. But you still need to consider certain elements to use it for your specific setup, such as the number of prongs.
- Circuit breaker: You need a 220V circuit breaker for this procedure. Otherwise, using a breaker with a lesser capacity than that model can result in issues like overloads and burnt circuits.
- Drill: An optional tool if you don’t have a hole in the wall for the wires to connect to the rest of the electrical framework.
- Electrical conduit: A protective cover to provide safety to the wiring, particularly if you need to route the wires outdoors.
- Wire crimper: Use this tool to attach different wires to fasteners and complete circuits without the need for soldering.
- Screwdriver: Used to turn and secure screws in their respective slots. You’ll need to use this tool on multiple occasions throughout this procedure.
Step #1: Make The Preparations
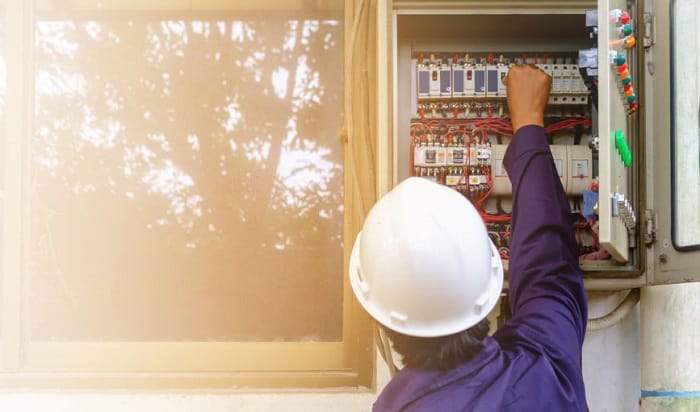
Take note that any work you need to do with the electrical system in your property requires you to shut the power off from the service panel.
Working with the electrical system while the main power is still on may result in serious accidents and injuries.
Then, assuming that you already have a hole for the outlet, install the outlet box into that receptacle. Otherwise, you may only need to mount the box onto the wall.
Step #2: Cut The Wires And Install The Conduit
Measure, crimp, and cut the wires at the appropriate length. Strip and trim the wires one at a time. Then, repeat these steps for the other 3 wires for the setup.
Ensure that you’re taking into account the distance needed for the wire to connect the outlet to the breaker box.
Drill a hole into the wall for the wires to pass through if needed. Ensure that the hole is about 1-inch wider than the maximum diameter of the bundled wires.
Place and secure the electrical conduit near the created hole and the circuit breaker box. Take note that you don’t need to run this cover through the walls.
Step #3: Route And Connect The Wires To The Outlet
Run the cables through the hole in the wall to the electrical conduit. Then, let the wires go through the passageway and let them hang temporarily near the service panel.
Use your crimping tool and remove 1 foot from the wires’ coatings afterward. Next, attach the white wire labeled ‘neutral’ or ‘white’ to the appropriate port in the outlet.
Connect the green or ground wire to its port in the outlet. The last part of this 4 wire setup is to attach the black and red wires to the outlet’s hot terminals.
Make sure that you secure each wire in the outlet by turning the screws tightly. But don’t turn the screws more than needed or you’ll risk stripping them.
Once you secure the wires, push them into the outlet box and cover the assembly. The outlet kit should have screws for the cover to secure this setup in place.
Step #4: Connect The Wires Into The Breaker Box
Feed the wires through the hole at the side of or underneath the service panel. If this hole isn’t present yet, you may need to pound a screwdriver onto the panel to create it.
Then, install the double-pole circuit breaker into the correct mount. Take note that you shouldn’t use one single-phase breaker for this setup or it might overload or trip.
Create a 2 wire assembly by connecting the black and red wires to the circuit breaker. Secure this setup by turning the screws on the breaker.
Next, attach and secure the green and white wires to the grounding bar in the breaker box. Ensure that you connect each wire to an empty spot or you’ll short out the circuit.
Once finished, turn on the 220V circuit breaker and the main power to test the circuit.
Conclusion
You should now have a general idea of how to wire a breaker box for 220V outlets. If you don’t have the self-assurance or expertise to go through with this task, there’s no harm in calling an expert electrician.
But if you want to handle this operation as a DIY project, take the time to follow each step mentioned in this post. Doing so may help reduce the risks of potentially expensive mishaps.

I am Andrew Wright. With 8 years of experience designing, installing, and maintaining electrical power systems. I love my job, and I have always wanted to offer others the necessary help so they can take care of their houses.