
A subpanel helps distribute electricity throughout your home, but to enjoy this advantage, you must ground it first for safety.
Grounding a subpanel in a detached building typically demands the right steps in installing the secondary service panel. Plus, the different wires, such as the ground wire, should be secure in their correct terminals.
Continue reading to know how to ground a subpanel in a detached building. The following guide also highlights the grounding procedure for that breaker box.
Table of Contents
Ways to Ground a Subpanel in a Detached Building
Grounding a subpanel diagram often demands an understanding of building code restrictions, as highlighted by the National Electric Code (NEC) article 250.32.
For instance, Section A Part III of that article requires all separate establishments and structures to have their dedicated feeders or branch circuitry. Failure to follow the detached building electrical code may put you at risk of accidents and costly fines.
Also, grounding a subpanel for shed or another detached building typically requires going through the correct subpanel installation process.
What To Prepare
- Subpanel enclosure
- Circuit breakers
- Feeder breaker and cable
- Cable clamps
- Mounting screws
- Screwdriver
- Hammer
- Pliers
- Wire crimpers or strippers
- Ground rod and cable
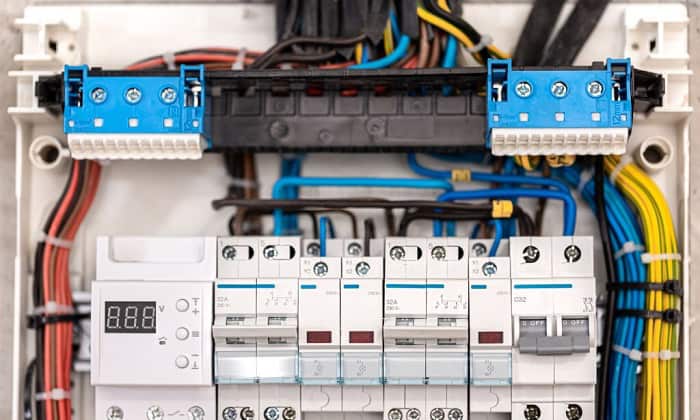
Step #1: Mount The Subpanel
Assuming that you have the appropriate location for the subpanel, start the mounting process by turning off the main circuit breaker at the main electrical service panel.
Next, find a wall stud in your preferred location and mark it with a pen or pencil.
Drill pilot holes through the marked areas afterward. Then, place the subpanel enclosure over the drilled holes. Secure the box by screwing it into place.
If you want to install an isolated ground sub panel, ensure that it has safety features in place. However, mounting a sub panel with an isolated ground for a detached building isn’t a wise choice, for it often creates different hazards.
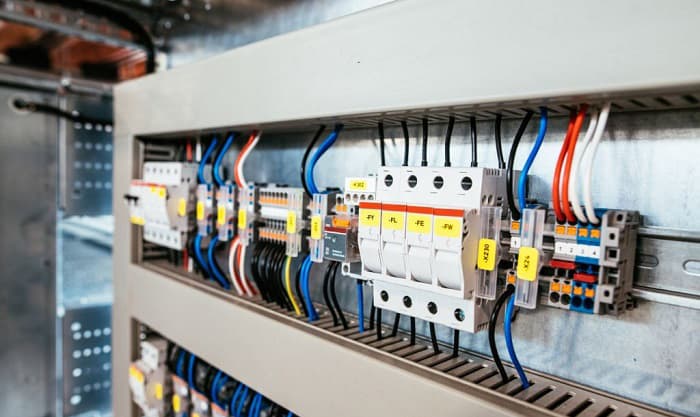
Step #2: Plan The Electrical Wiring
Don’t install the different wires into your subpanel without proper planning. Random placements may increase the risks of electrical faults after wiring detached garage subpanel.
At this point, take note of the four typical wires to use for the installation: ground, neutral, and black and red hot wires. Next, crimp or strip the wires’ sheathings, remove the knockout slugs, and secure the cables into their appropriate terminals.
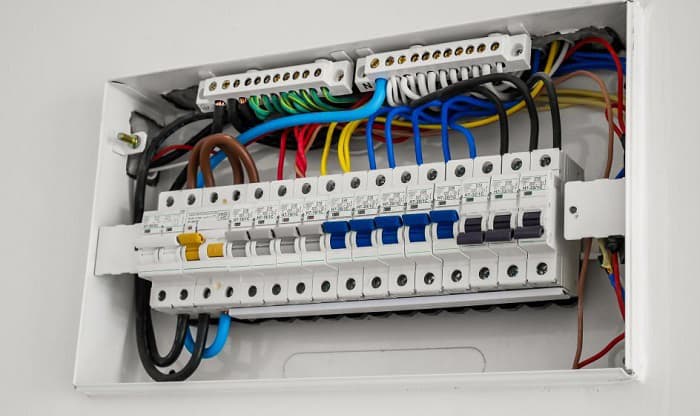
Step #3: Connect The Wires
Plan and follow safe paths in routing the wires in the subpanel. In particular, ground and neutral wires should have safe and unhindered connections to the subpanel’s bus bars.
Repeat the same routing procedure for the hot wires. However, attach one end of these wires to the feeder breaker instead of the bus bar. Don’t forget to secure the circuit breakers into their correct brackets.
As for the other ends of the black and red wires, connect those to the hot busbars.
Next, attach the neutral wire to the main neutral port in the subpanel. Finally, connect the ground wire to the ground bus bar by screwing it.
If there’s no ground to sub panel, you can retrofit a ground bar in the breaker box.
Step #4: Ground Rod Sub Panel Installation
Remember, take note of the NEC sub panel grounding requirements, particularly for this step. Then, pick the appropriate location for the ground rod, which should be at least 2 feet away from the subpanel.
Next, think of the safest yet most efficient route in wiring the grounding electrode conductor to the panel.
- After finding the ideal location, install ground rod for sub panel by digging a hole in the ground in that area. Then, insert 8 feet of your grounding rod into the trench (make sure you use a listed product).
- The hole should be about 8 feet deep, and you can dig it using a shovel. You may also need a drill or driving tool to complete this part of the procedure.
Then, follow the guidelines imposed by your property’s blueprints when wiring a shed from a house diagram. Attach the grounding conductor to the rod and the ground bus in the subpanel of the detached house.
If done correctly, restore power to the property’s circuitry by turning on the main breaker. Then, test the subpanel of the detached establishment to check if it works.
Additional Points
If you’re grounding a 3 wire subpanel, you should bring the setup to current code standards. Otherwise, the neutral bar needs to band with the 3-wire feeder to protect against ground faults.
Helpful Tips/FAQs
Does A Sub Panel Need A Separate Ground?
Any sub panel, particularly one found at a separate building, needs to have a dedicated ground rod and wire. That said, check your local electrical code to be sure.
As for the ground bus bar, yes, your sub panel needs one.
Do I Need A Ground Rod For A Subpanel In A Detached Garage?
Yes, you need a ground rod in your detached garage sub panel wiring diagram. Also, the neutrals and the grounding system should be separate.
Plus, the grounding conductors of the feeder and ground rod should connect to the sub panel’s ground bar. Otherwise, running electric to detached garage may be unsafe.
How Do You Ground An Electrical Subpanel?
Grounding an electrical subpanel generally requires connecting the correct wires to the right terminals in the breaker box. It also demands the wiring to follow certain rules, such as:
- The neutral and ground conductors should not be bonded at the sub panel.
- The neutral bus should always have proper insulation.
- A proper connection should always exist for the ground bus.
What Size Ground Do I Need For 100 Amp Sub Panel?
A subpanel that caters to 100 amp circuit breakers needs a ground wire size of #6 aluminum or #8 copper. But it’s possible to get by with a #4 copper or #2 aluminum wire for that service panel.
Conclusion
By now, you should have an idea of how to ground a subpanel in a detached building. Remember, check local building codes to ensure you’re following the correct standards for the electrical wiring in the detached establishment or structure.
Also, take your time in planning the electrical setup for the isolated building. Take note of the paths to use for the wires, particularly when connecting the ground rod to the subpanel.

I am Edwin Jones, in charge of designing content for Galvinpower. I aspire to use my experiences in marketing to create reliable and necessary information to help our readers. It has been fun to work with Andrew and apply his incredible knowledge to our content.