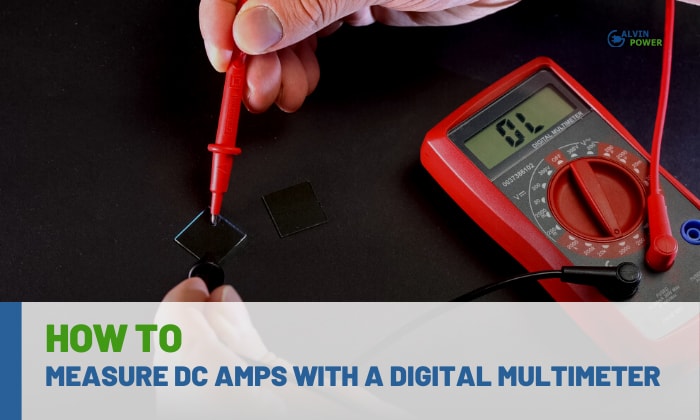
Your electronic device might not be working properly. So, you want to use a multimeter to test if there’s something amiss. Now, you’re wondering about the steps on how to measure DC amps with a digital multimeter.
Measuring DC amps with a digital multimeter typically uses the following steps:
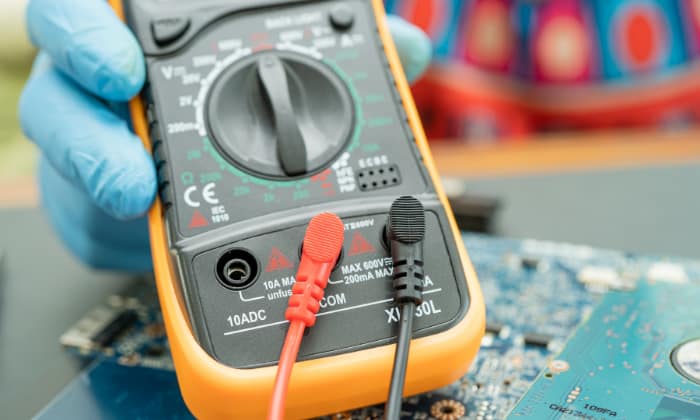
- Insert the black lead into the “COM” terminal
- Insert the red lead into the “A” terminal
- Set to the nearest DC range
- Place the clamps on the appropriate terminals
Note that this procedure requires you to pay attention to details. Continue reading to know these particulars and complete this task correctly.
Table of Contents
Step-by-Step to Measure DC Amps With a Digital Multimeter
First, understand the difference between DC and AC amps. However, mostly the same, DC amperage has a different current flow than AC amperage.
In particular, measuring DC current with multimeter typically shows you a one-way electricity flow. On the other hand, AC current typically changes direction or polarity within a certain period.
What To Prepare
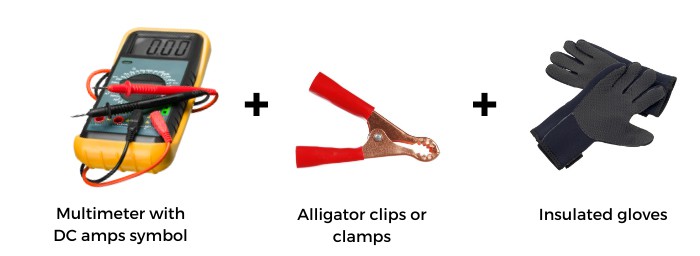
Generally, you must only prepare three things when testing DC amps with multimeter. These items are the following:
- Multimeter with DC amps symbol
- Alligator clips or clamps
- Insulated gloves
Note that you can still measure amps with other digital multimeter models. For instance, you may have a multimeter with pointed leads instead of alligator clip attachments.
Although the results should be the same, measuring with a multimeter equipped with alligator clamps can be more advantageous than with pointed leads. With clips, the connection becomes secure.
After gathering the necessary materials, turn on your multimeter and make the two leads touch. The device should generate a sound, indicating that it’s working. If not, you may not be able to read amps on a multimeter correctly, if at all.
Once you verify the operational capability of your digital multimeter, follow these steps to check DC current:
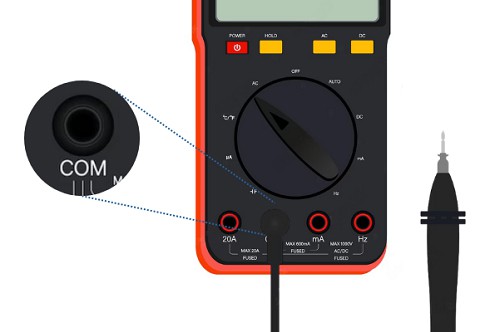
Step #1: Insert the Black Lead Into the “COM” Terminal
Insert one end of the black lead into the “COM” port (not the DC amp clamp) of the digital multimeter. This port stands for “Common,” which typically connects to the ground or the negative part of a circuit.
If you can’t see a “COM” terminal on your multimeter, search for a port labeled “-.” The negative terminal should provide the same function as one named “COM” when you read amps on a multimeter.
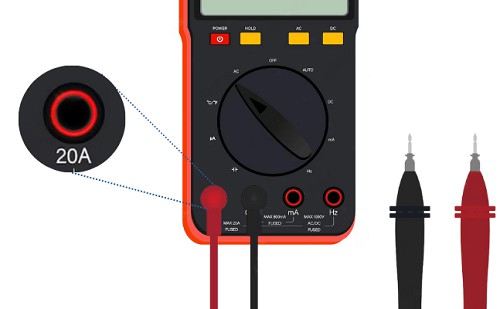
Step #2: Insert the Red Lead Into the “A” Terminal
Next, insert one end of the red lead into the “A” terminal. If you can’t find the “A” port, its other labels are typically “VΩmA” or “10A.”
You may also use the “mA” slot to test amperage with multimeter. But note that this terminal will only read up to 300mA or low-current applications.
Also, don’t make the mistake of inserting the red lead into the “Ω” or “V” ports. The former is for measuring resistance, while the latter is for reading voltage.
Step #3: Set to the Nearest DC Range
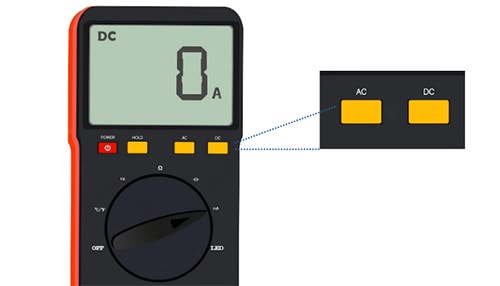
Unless it clearly indicates the DC amp setting on multimeter, turn the knob to the setting with “A-“ or the three dots. Then, select the current range that best fits your objective.
Note that DC amps on multimeter often come with five ranges: 10A, 200μ, 2m, 20m, and 200m. These values represent the maximum current expected from the electronic device to test.
If you don’t know the maximum current that your device can work with, you can use Ohm’s Law to find that value. In particular, you can find the amperage, voltage, or resistance with the following formula: voltage = current x resistance.
Step #4: Place the Clamps on the Appropriate Terminals
To get the correct and accurate readings when you test amp draw, you must place the leads or clamps on appropriate points. Note that these terminals differ for each device.
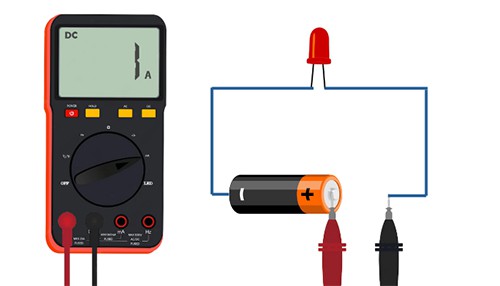
Pay attention to where you place the leads of your clamp-on DC amp meter. For example, a device may require you to place the red clamp on the positive battery terminal. Then, place the black clamp on the battery’s free terminal.
Measure DC with the clamp meter correctly, and the display on the multimeter should give you a result. A beeping sound should also come from the multimeter during reading operations. If not, troubleshoot the device or the multimeter.
You can also watch the video below if you need a visual representation of this procedure:
FAQs
Can I Measure Both AC And DC Current Using The Same Digital Multimeter?
Normally, you can test amperage with multimeter regardless of its current type. But some units may only allow measurements for either AC or DC. Read the manufacturer’s guidelines to know your multimeter’s capabilities and limitations.
DC Amp Measurement Applications
Generally, electronic devices using batteries run on DC. You can test DC amps on those products with a multimeter. Some electronic devices that you can use a digital multimeter to read DC are the following:
- Smartphones and mobile devices
- Electric and hybrid vehicles
- Flashlights
- Television sets (typically converts AC to DC)
Tips And Tricks For Accurate Measurements
Sometimes, checking amps with a multimeter may not provide you with accurate results. If you’re unsure if your digital multimeter is producing the correct output, here are some tips and tricks to help ensure the device’s accuracy.
Check The Calibration And Manufacturing Dates
Many digital multimeters that allow testing for DC current measurement have a guaranteed accuracy for one year at most. After that, the device may only produce precise results with additional calibration or inspection.
Use In Optimal Temperature
Temperature can play a vital role in providing accurate results when measuring amperes with a digital multimeter. If the ambient temperature is higher or lower than expected, the display may not show you the correct measurements.
Read the product’s owner’s manual to know the device’s optimal operating temperature. For example, reading DC with a Fluke multimeter might provide accurate results within -40 to 400 degrees Celsius (-40 to 752 degrees Fahrenheit).
Conclusion
Remember, how to measure DC amps with a digital multimeter requires you to follow a certain procedure. For instance, place the leads in the right terminals on the multimeter, then set the measuring device to the right setting.
Additionally, consider the calibration and ambient temperature of the digital multimeter. Failure to keep a watchful eye on these additional nuances may result in inaccuracy.

I am Edwin Jones, in charge of designing content for Galvinpower. I aspire to use my experiences in marketing to create reliable and necessary information to help our readers. It has been fun to work with Andrew and apply his incredible knowledge to our content.

