Table of Contents
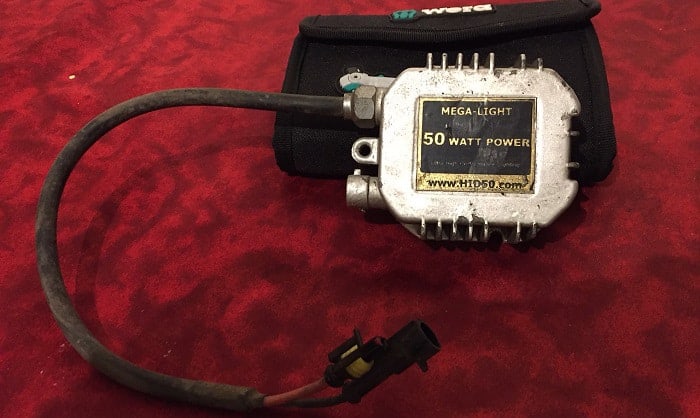
Do you often buy HID ballasts? Do you want to save money by extending your HID ballast’s life? Do you want to know when to repair and when to buy a new ballast?
If yes, you must learn how to reset HID ballast. Not all failures require a replacement; sometimes it is because of a damaged ballast. By resetting your ballast, you can make it work again, extend its operational life, you save money in the long run.
Step-By-Step Instructions to Reset HID Ballast
The Tools You Need
To reset your HID ballast, you need the following tools:
- Your old ballast, removed from the system and ready for repair
- A Philips screw, to uncover the ballast
- An analog or digital multimeter, or a capacitor tester, for testing the capacitor
- Tweezers, for handling small part like a capacitor
- Soldering iron, lead wire, and soldering paste for installing the replacement capacitor
- Replacement capacitor of the same specifications
- A lighting system with a power supply to test the ballast repair (optional)
Remember, always think of safety first! Before working on the lighting system, ensure that it has cooled down enough so you don’t get burned when you touch it.
I also recommend using an old headlight set with a power supply, so you can test your ballast without the hassle of going to your car and installing it.
Before we start on a step-by-step guide on how to reset your HID ballast, you should test other parts of your HID system. Check the lamps and the solenoid if it is working properly, and make sure there are no loose connections.
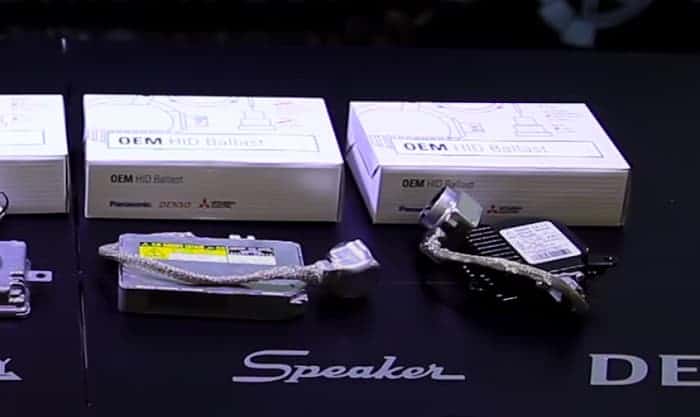
The ballast is a crucial part of any HID lighting system. It controls the electrical current needs of your HID lamp. Without it, your HID lamps won’t have enough power to light up, or will have too much power when it’s already warm and will burn out so much quicker.
Step 1 – Unscrew the Ballast Housing
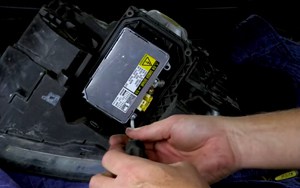
Ready your ballast by removing the cover for repair access. Although screw size and type may vary, the most common housing uses a medium-size Philip screw. Once done, you should have access to the main board of your ballast.
See if there’s any damage on the board. If it is in good condition, you can proceed to step two.
Step 2 – Test All the Parts on the Board
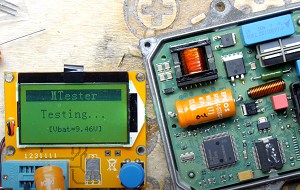
Check the resistance of all parts on the board, most important the capacitor. It is the most commonly damaged part of ballast and is also the easiest to replace.
Use your multimeter to measure the resistance of each component. If you don’t know how to use a multimeter, you can watch this tutorial by Rachet and Wrenches to familiarize yourself.
Step 3 – Remove the Capacitor
Remove the capacitor using your soldering iron and a tweezer. First, heat the soldered part in the pin of the capacitor while holding it with your tweezer. Once the original solder has melted away, you can slowly pull the capacitor from the board.
Remember to take care of other parts when soldering the capacitor.
Step 4 – Replacing the Capacitor
Test the substitute capacitor to make sure your replacement is working properly. After confirming that it works, solder it on the board using your soldering iron, lead wire, and soldering paste.
Important note: make sure that your replacement capacitor has the same specifications as the old one. If you’re not sure, bring the old capacitor to the electronic parts shop and ask for assistance.
Step 5 – Test It Before Installation
If you have an old lighting system, you should test your repair first before installing it to make sure they work. If you don’t experience problems, then you’ve successfully repaired your ballast and saved some money!
All that remains is to install it in your car and you’re good to go.
Conclusion
You should know how to reset HID ballast if you want to save money from buying a new one. Especially now that we are in a pandemic and resources can be tight. I will also share the top-rate HID Ballasts and the reliable 1000 watt ballast I’ve tried and tested to help you find a good brand.

I am Edwin Jones, in charge of designing content for Galvinpower. I aspire to use my experiences in marketing to create reliable and necessary information to help our readers. It has been fun to work with Andrew and apply his incredible knowledge to our content.


