
Table of Contents
An AFCI circuit breaker installation in a home electrical panel is only required if you need to modify or upgrade a particular circuit. However, most commercial establishments, dormitories, and apartments are required to use an AFCI circuit breaker.
Typically, you can replace it with a standard breaker. But why do you want to downgrade the protection for your electrical system? Read this article to know how to install Arc fault breaker.
What You Need to Prepare for an Arc Fault Breaker Installation
- Flathead screwdriver to uncover the panel and connecting wire
- Insulated or rubber gloves for additional protection
- Flashlight or any portable lights if your breaker panel is in a dark place
- AFCI wiring diagram for electrical wiring
- AFCI tester for more accurate testing of the circuit (optional)
- Electrical wire of the appropriate size for the AFCI circuit breaker
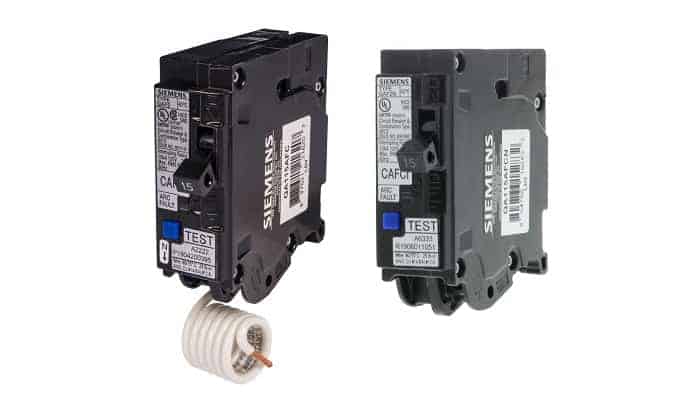
- AFCI circuit breaker with the proper capacity for installation
The amp capacity of your arc fault circuit breaker depends on its location and the devices you plan to plug in it. High power appliances and motors will need a high amp of arc fault circuit breaker. For this reason, the advisable AFCI capacity should be between 15 to 20 amps for all 120-volt single-phase lines.
Do note that the AFCI circuit breaker can be installed in any room—as long as the appliances or device in it only require 120 volts.
Step By Step Guide for Installing an AFCI Circuit Breaker
Before doing anything with your breaker panel, you should turn off the main breaker of your system. This is to prevent any potential accidents, like short circuits. Also, wearing insulated rubber gloves will give you additional protection.
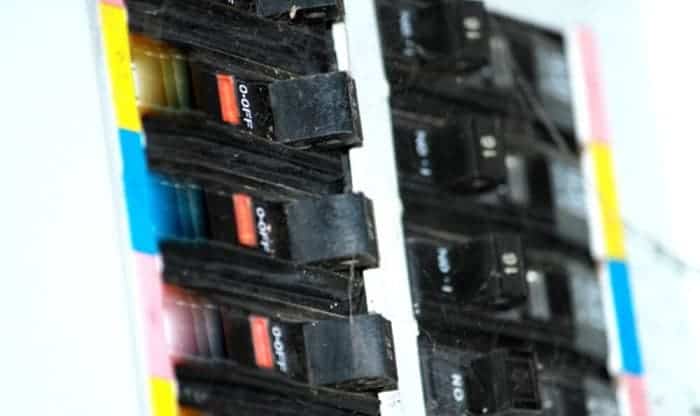
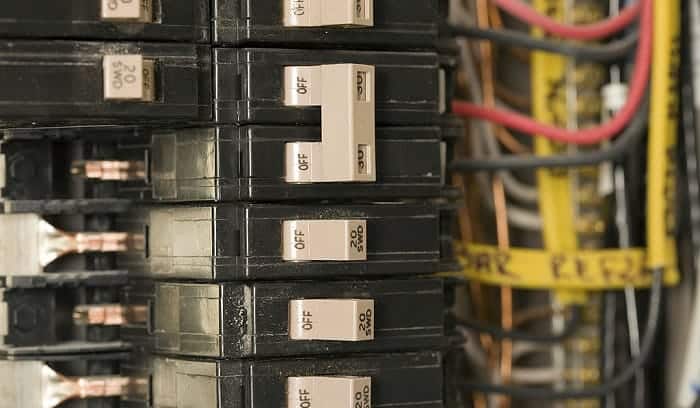
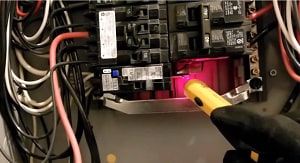
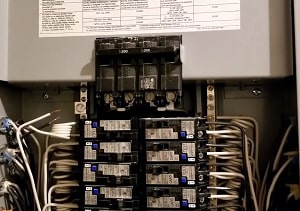
Step 1: Remove the Panel Cover
With your flat head screwdriver, remove each screw safely on all sides of your panel cover. It is also good to prepare your portable lights. So if your panel is in a dark place, you can easily find the circuit you’re going to work on.
Step 2: Start Wiring for AFCI Installation
If you are adding a new circuit for the AFCI circuit breaker, you need new electrical wiring. Just remember to use the right size of wire for your AFCI breaker. The recommended wire size for a 15 amp circuit is 14 gauge, and if you use a 20 amp breaker, the correct wire size is 12 gauge.
However, if you upgrade an existing circuit breaker to an AFCI circuit breaker, you must first trace the neutral wire of the circuit you want to upgrade.
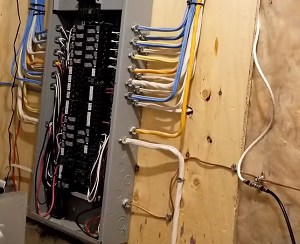
Step 3: Rewiring the Electrical Lines
Rewiring an electrical line for upgrading a circuit breaker is hard, especially if you need to trace the neutral wire of a specific circuit. If your panel is labeled, you wouldn’t have any problems. Otherwise, here’s what you should do.
To trace the unlabeled wiring, pull the other end of your electrical wiring to see the moving wire in your electrical panel. I also highly recommend checking a couple of times your traced neutral wire before installing it to the AFCI breaker.
Step 4: Install the AFCI Circuit Breaker

During wire installation, there is a label on the breaker itself for wire attachment; the extra wire of the breaker needs to connect to the neutral bar. I also recommend using this arc fault breaker wiring diagram by electricaltechnology.org as your guide. They will show the wiring diagram for the AFCI breaker and give you a better understanding of the AFCI breaker.
Furthermore, you can use any AFCI brand like Square D Arc Fault Breakers or any other brand that meets the requirements of your AFCI Installation.
Step 5: Test the AFCI Circuit Breaker
To test the AFCI circuit breaker, turn on the main breaker and the AFCI breaker. You can then press the test button. If you have an AFCI tester, you can use that too—it’s more accurate.
The AFCI tester is very easy to use as all you need is to plug it into the AFCI line and press the AFCI test button. In this case, the device will make an arc fault for AFCI to receive and trip immediately.
Step 6: Cover the Breaker Panel
After doing all the steps above and getting no faults, it’s now time to cover the panel. Safely screw the two upper corners first, making it easy to install the rest of the screw.
In addition to this step-by-step guide on installing an AFCI circuit breaker, you can also watch this video by Kevin Pon. He will show you precisely the installation process of AFCI breakers.
Can You Replace Arc Fault Breaker with Standard Circuit Breaker?
Yes, you can. The regular circuit breaker can fit the panel of your old Arc fault breaker. But this might not solve your problem if you do not do thorough troubleshooting and find out its main cause.
Conclusion
The crucial part of the installation is tracing the neutral wire when upgrading the circuit breaker to an AFCI breaker. With too many cables connected in the neutral bar, it can be tough to trace the specific line of the circuit. It is better to label every wire in the breaker panel to prevent this kind of confusion.
Did this article give you knowledge on how to install Arc fault breaker? If you are a beginner, do you think you can do this work? For some additional questions, write them in the comments section below.
Read next:
- Detailed Comparisons Between AFCI Outlet Vs Breaker.
- Step by Step Install Dual Function AFCI/GFCI Circuit Breaker

I am Andrew Wright. With 8 years of experience designing, installing, and maintaining electrical power systems. I love my job, and I have always wanted to offer others the necessary help so they can take care of their houses.