
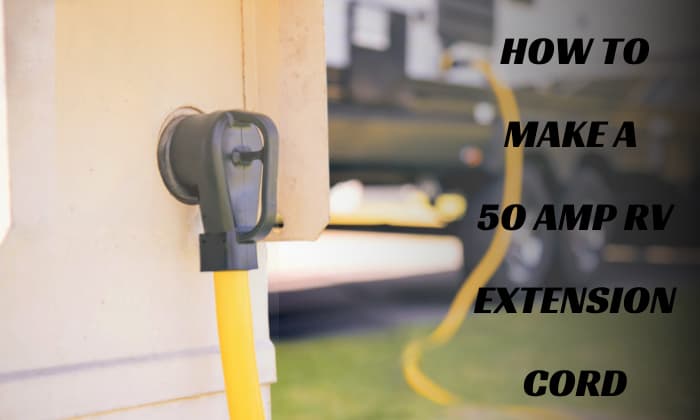
Knowing how to make a 50 amp RV extension cord is vital for anyone who wants to have custom-length cables whenever the need arises. I’ve been able to make a 50 ft and 100 ft RV extension cord 50 amp steadily over the years, and I always stuck to the steps outlined here.
This guide teaches you everything I know about any customized camper extension cord that’s outdoor-ready, heavy-duty, just the right length, and as reliable as any product available on the market. You can save a lot of dough, too.
Table of Contents
- Gather Your Materials
- Follow These Easy Steps
- Step 1. Open the female plug by unscrewing the cover, then strip the cable
- Step 2. Free up the wires inside, insert them thru cable entrance, begin stripping each one
- Step 3. Start terminating the wires to the correct terminals
- Step 4. Re-screw the cover in place, then follow the same steps for the male plug.
- Frequently Asked Questions
- Conclusion
Gather Your Materials
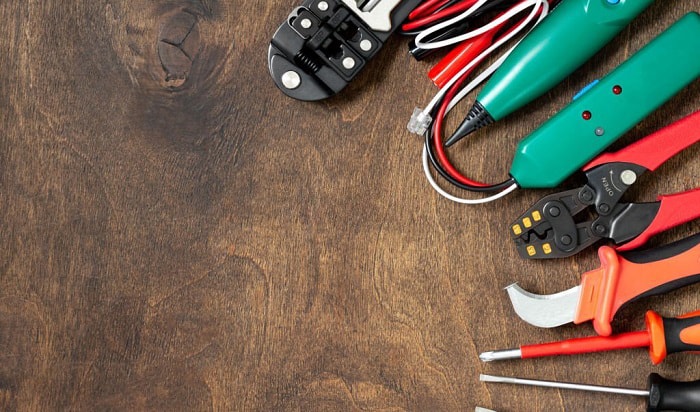
- 6/4 portable cable
- Male and female plugs designed for RV cords
- Wire cutter
- Cable jacket stripper
- Wire stripper
- Screwdriver
Some considerations for the cord:
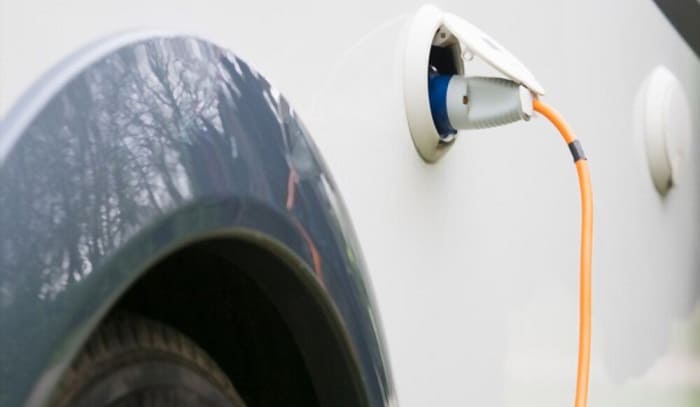
- Are you sure that your RV needs a 50A 240V connection? If you aren’t, check this information in the manual, data plate, or the default plug that comes with your RV. It should be a four-prong if it’s 50A.
- Do you want a more durable, water-resistant, and overall heavier-duty cord that fits a 50A socket? If yes, then feel free to choose a SEOOW 50amp cable instead of the SOOW variety.
- 200 ft is pushing it when it comes to the run the length of a standard 50 amp 220 extension cord. The safest limit for me is 95 to 100 ft.
Follow These Easy Steps
Step 1. Open the female plug by unscrewing the cover, then strip the cable
Feel free to start with the male or female plug; I opted to just start with the female one. Just unscrew all the screws on the plug’s front cover to remove it. Put all the screws in one place so as to not lose any of them.
Now, it’s time to strip the cable. One easy way I figure out how much I’m going to strip is to put it on top of the female plug in such a way that its tip is directly below the plug’s ends.
Strip the jacket from that end up to where part of the cable meets the internal portion of the cable entrance. You can mark that part with a cutter or the cable jacket stripper. Or you can just go ahead and strip the jacket now.
Step 2. Free up the wires inside, insert them thru cable entrance, begin stripping each one
Remove any of the fillers that come with the wires by cutting them off. Once the fillers are gone, just slide the wires inside the opening for the cable, but not before you loosen the screws on the strain relief enough to accommodate the cord and its jacket.
Anticipate the position of the conductors by taking note of the markings on the terminals. Most plugs readily label it based on colors: “White”, “Green”, “Black”, and “Red”.
You may need to cut some of the wires, depending on how their terminals are positioned.
It’s best to refer to the instruction manual for the plugs to be sure of how long and short each colored wire needs to be in order to be correctly terminated. Trust me; you’ll spare yourself from the hassle of adjusting your strips or, worse, stripping too much, which won’t do in a properly working 50 amp power cord.
Each plug is designed and configured differently, after all.
Step 3. Start terminating the wires to the correct terminals
With your wires now stripped and ready to be connected, just loosen the screw of each terminal, then put your wires in them and tighten the screws. Twist the copper wires as securely as possible before terminating.
- In most cases, I just lift the terminals up or even remove and re-insert them to make inserting the copper ends a breeze.
- Keep the exposed copper as minimal as possible, if not completely non-existent, when terminating.
With every conductor connected to its intended spots, you can now tighten the strain relief clips on the cable’s opening.
Step 4. Re-screw the cover in place, then follow the same steps for the male plug.
Replace the plug’s cover, then screw it in place.
At this point, I’ve already explained all you need to do to create a 50 amp RV cord by yourself. The same steps apply to the other plug head, after all.
Want to go the extra mile and test your finished 50 amp electrical cord to know whether it’s wired correctly? I highly recommend you watch this video that teaches how to check it for continuity.
Frequently Asked Questions
What size wire do I need for a 50 amp extension cord?
You can’t go smaller than 6 AWG wire if you want to create a 50 amp welder extension cord, assuming you don’t want to settle for a cord that’s rated for lower current capacities.
What is the diameter of a 50 amp RV cord?
A standard RV power cable that’s rated for 50 amps has a diameter of 26.5mm. You can check most cords offered by various brands to confirm.
Can I use a 30 amp extension cord on a 50 amp RV?
A 30 amp RV extension cord differs from a 50 amp one with the male plug it uses. It’s also not wise to connect a 30 amp wire with a 50-amp breaker, since the latter may not detect overheating issues on the 30 amp wire quick enough.
Conclusion
How’d you like my guide on how to make a 50 amp RV extension cord? Overall, making an RV extension cord can actually even be therapeutic sometimes, especially if you like tinkering with wires.
Remember, choose the right cable and plugs for the 50A cord, then follow the relatively brief steps and tips I outlined above about stripping, cutting, and terminating.

I am Edwin Jones, in charge of designing content for Galvinpower. I aspire to use my experiences in marketing to create reliable and necessary information to help our readers. It has been fun to work with Andrew and apply his incredible knowledge to our content.