
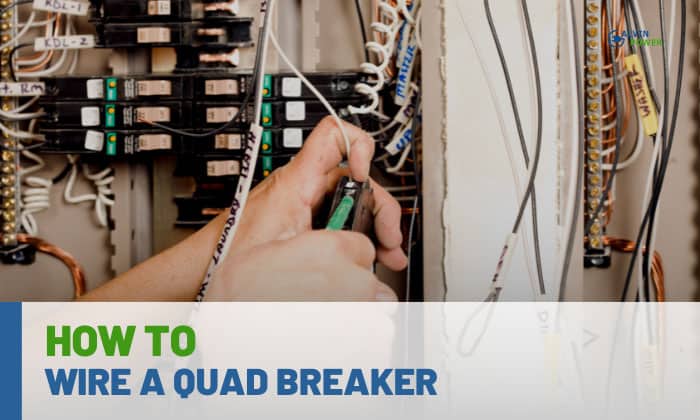
Do you find yourself short on circuits that could handle electrical loads? If so, you may find it vital to add a new breaker to accommodate the appliances you would like to install on your property.
If this is the exact predicament that you have in your mind while you’re reading this – you’re in the right place!
Quad breakers are a cost-effective way to add circuits without the need to take up much space in your electrical panel.
Knowing how to wire a quad breaker is quite easy, with the steps being the same as installing regular breakers. This is to say that quad wiring is simple if you are to follow the steps that I provide down below.
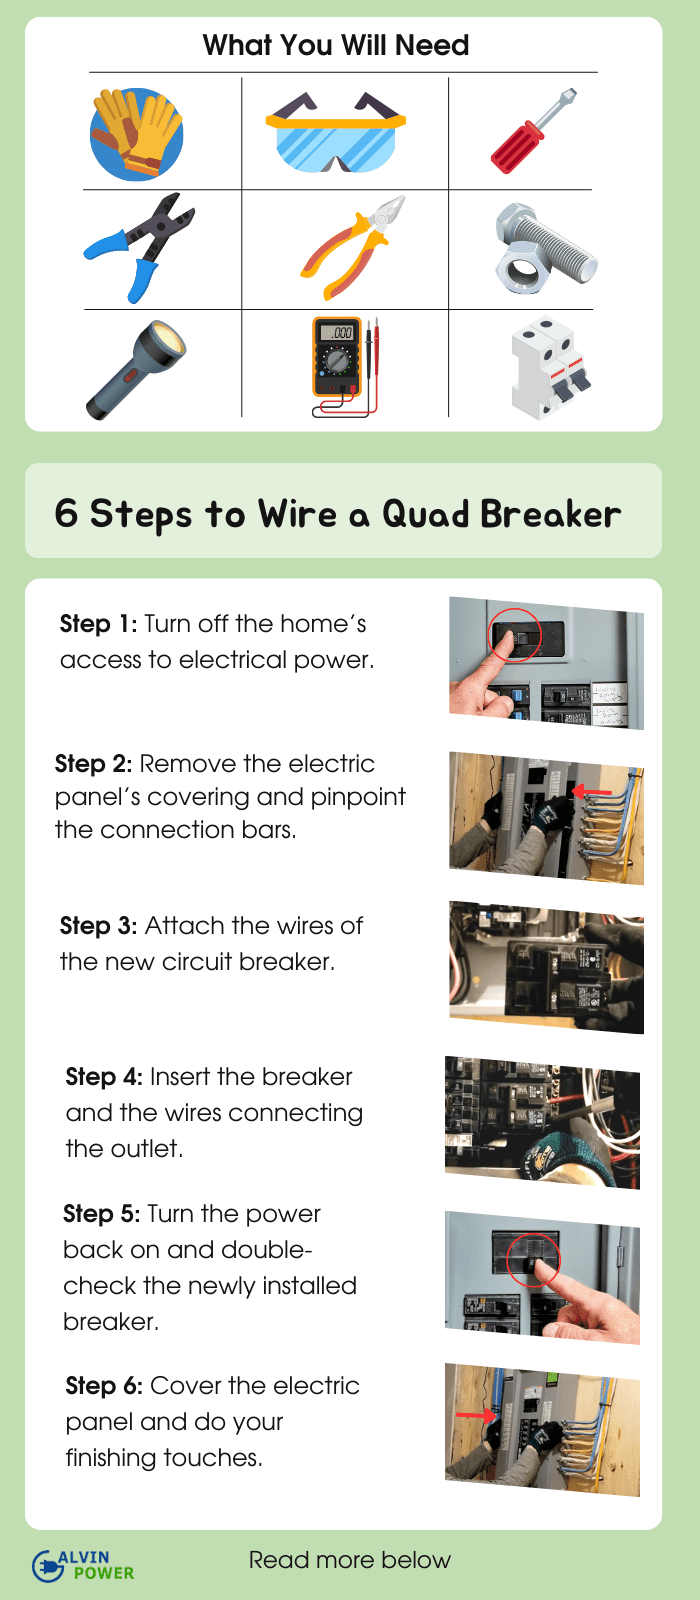
Table of Contents
- Step-by-Step to Wire a Quad Breaker
- What to Prepare
- Step 1: Turn off the home’s access to electrical power.
- Step 2: Remove the electric panel’s covering and pinpoint the connection bars.
- Step 3: Attach the wires of the new circuit breaker.
- Step 4: Insert the breaker and the wires connecting the outlet.
- Step 5: Turn the power back on and double-check the newly installed breaker.
- Step 6: Cover the electric panel and do your finishing touches.
- Frequently Asked Questions
- Conclusion
Step-by-Step to Wire a Quad Breaker
What to Prepare
To safely wire your quad circuit breaker, I recommend that you have the following tools on standby before you begin:
- Wire stripper
- Regular or needle-nose pliers
- Screwdriver
- Screws
- Electrical multitester
- Electrical safety gloves
- Safety glasses
- Flashlight, in case you will work in a dark place
- 20 30 amp quad breaker or whatever size that suits your home
Having these tools in your possession allows you not to only safely wire your quad breaker but also ensures a smooth, easy process.
Given that the process for wiring a quad breaker is the same as wiring a regular breaker, homeowners may find the procedure familiar. To be brief, I have taken the liberty of listing the steps needed in order to wire a quad tandem breaker.
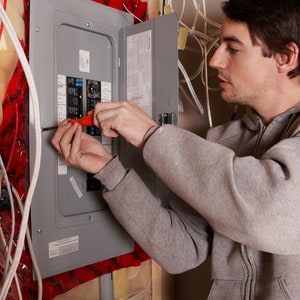
Step 1: Turn off the home’s access to electrical power.
Before you proceed to do DIY on your home’s electrical components, make sure that the property’s access to electricity is shut off to prevent the sudden jolts of current that will cause injuries.
Step 2: Remove the electric panel’s covering and pinpoint the connection bars.
Now that you have ensured that no active power is flowing through your home’s circuitry, it’s now time to look for your panel’s connection lugs and bars.
Pin-point first the bars of the panel — namely, the neutral and hot bus bars. Take note of their locations as you will install wires into them to ensure electricity can move to and from the panel.
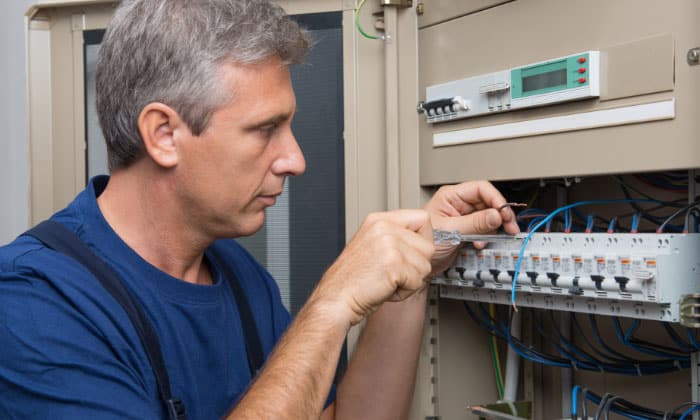
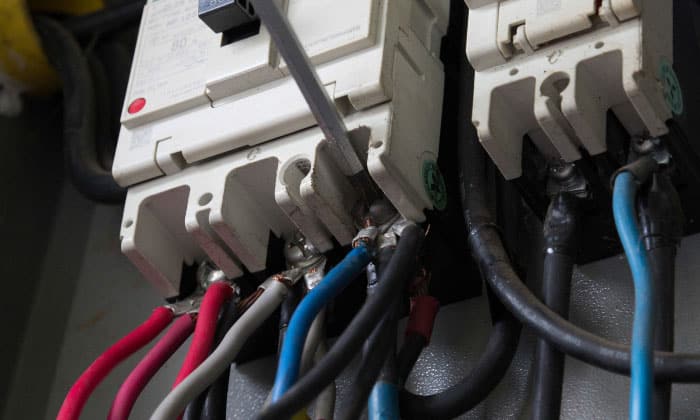
Step 3: Attach the wires of the new circuit breaker.
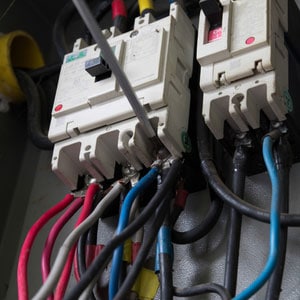
Taking note of the locations of the connection lugs and bars, organize the respective wirings of the quad breaker so that you can install them in a neat manner. The last thing we would like is disorganized wiring inside the panel.
Run the wirings of the circuit cable first to the respective lugs of the panel. Attach the said wires by removing the top insulation of the cables, exposing the conductor. Here, insert and tightly twist the wire’s conductor into the bars of the panel.
To be exact, these are the wires that you would need to attach: the hot wires providing current to the breaker and neutral wires serving as the grounding. Ensure that these cables are tightly connected to the screws on the quad breaker and the panel bars.
You will need hots and neutrals for both the top and bottom of the breaker.
The middle breaker should also have its own wires (two hots and one neutral, to be specific).
For better understanding, refer to this image below:
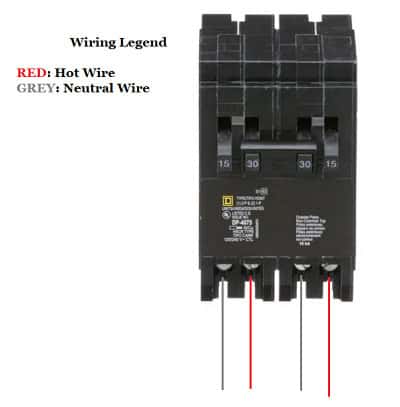
Take note, however, that the amount of wire and their specific installation lug depends on the diagram of your outlet.
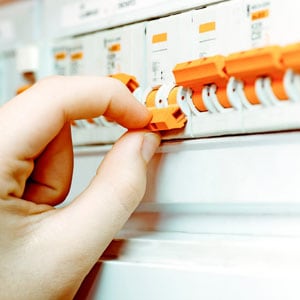
Step 4: Insert the breaker and the wires connecting the outlet.
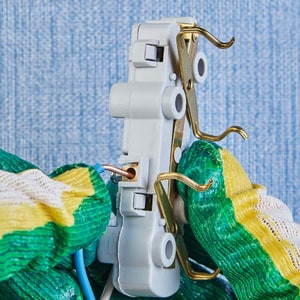
After the step above, you can now slide the quad breaker meant to replace or act as the new protector for your home’s circuitry into place. It should fit snugly into the open slot of the panel.
Right after that, route and feed the circuit outlet’s wires into the quad breaker itself. Check if the wires correspond to at least the minimum gauge required. For instance, a 40 amp breaker wiring diagram should use at least 8 AWG (American Wire Gauge).
Step 5: Turn the power back on and double-check the newly installed breaker.
After everything is settled, check if the 20/20, 30/40, or 50/20 quad breaker is correctly installed by using the multimeter and seeing if the breaker registers activity when electricity passes through it.
Step 6: Cover the electric panel and do your finishing touches.
Ensure that all foreign objects that were in contact with the insides of the panel have been removed. Thoroughly clean the panel and return the cover so that the internal circuitry of the breaker box won’t be tampered with accidentally.
Also, index the newly-installed breaker with a label of the circuit details so that you would know what the quad breaker regulates when it comes to maintenance.
If you have accomplished everything above, you can now restore your property’s access to electricity.
Congratulations on correctly installing your new quad breaker! Now, for a few pointers:
- Regardless of what the quad breaker used for, carefully ensure that the rating of the breaker is capable of handling the electrical load of the appliances it would regulate.
- It is important to remember that working with electricity is dangerous and that if you are unsure about doing DIY work on your home’s electrical system, don’t hesitate to contact a licensed electrician.
Frequently Asked Questions
How Does a Quadplex Breaker Work?
A quadplex breaker works in the same way a regular breaker operates – the only difference being that the outside and internal two poles are operating interconnectedly, allowing for the creation of two circuits within the limited space of your panel.
How do you Wire a 4 Wire 240V Breaker?
For 240V double pole breaker, you would need to wire four cables into the lugs, bars, and connections. unlike for 110V, where you would only need to pay attention to three wires in its installation.
On the 240V breaker, connect two hot wires to their terminals. Run the ground wire to the ground bar and the neutral wire to the neutral bar.
How do you wire a split breaker?
A split breaker, also known as a tandem breaker, is a type of electric regulatory instrument that can potentially save you some space.
Though not within the purview of this article, I’ll briefly explain how to wire a split breaker. Find the two hot and grounding wires that you will connect to the breaker. Attach them to their respective terminal screws.
After that, you can follow the steps that I outlined above, specifically the latter steps involving the testing and safety of your installed breaker.
Does it matter which wire goes where on a double pole breaker?
For your information, on a double-pole breaker, you should connect the neutral wire with the neutral bus, and the ground wire goes with the ground bus.
Conclusion
Learning how to wire a quad breaker is a skill that would tremendously help you in your electrical DIY projects. Being familiar with setting up this type of breaker highly improves your understanding of all things electricity-related.
As such, I’ve written this article so that novice homeowners can proceed in wiring a quad breaker.
Reach out in the comment section down below if you have any questions regarding the installation and wiring of your circuit.

I am Edwin Jones, in charge of designing content for Galvinpower. I aspire to use my experiences in marketing to create reliable and necessary information to help our readers. It has been fun to work with Andrew and apply his incredible knowledge to our content.