
Monitoring the amperage of a vehicle is important, especially if it uses high-powered equipment. But now you’re wondering how to hook up an amp gauge.
Note that installing an amp gauge may use different steps depending on the device’s specific model and your vehicle. However, the process generally follows these steps:
- Feed the wires
- Use a wire insertion tool
- Wire the amp gauge
- Test the amp gauge
Read on to find the details regarding each step so you can follow along with installing your amp gauge.
Table of Contents
Ways to Hook Up an Amp Gauge
Remember to consult the amp gauge’s instruction manual before proceeding with this operation. Note that some models may require unique steps to achieve a proper installation.
With that, you’ll find the things to prepare and the detailed steps for a general amp gauge installation below:
Step 1: What To Prepare
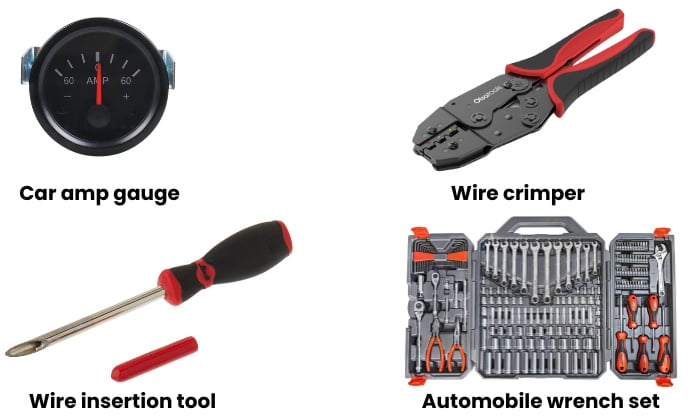
Installing an amp gauge typically uses the following items:
- Car amp gauge
- Wire crimper
- Wire insertion tool
- Automobile wrench set
Step 2: Feed the Wires
The first step to installing the amp meter in your car is to plan the upcoming process. Doing so will help streamline the process instead of stopping midway to think about what to do next.
You can mount the amp gauge for car on the main panel. But it won’t typically sit on the surface without some help. Use a gauge pod to solve this concern.
Also, ensure that the location and position of the gauge won’t hinder your driving.
After finding an appropriate location and position, feed the wires of the amp alternator gauge through a hole leading to the car’s engine. It’s typically at the driver’s seat’s footwell. If not, consult your vehicle’s owner’s manual.
Step 3: Use a Wire Insertion Tool
Below are what you should do next:
- Open your car’s hood and search where the wires poke out from the hole leading to the driver’s seat footwell.
- Place a wire insertion tool into that location and push it so one end appears in the cabin.
- Feed the amp gauge’s wires through the wire insertion tool next. Ensure that the wires in the tool are secure.
- Next, pull the insertion tool away from the hole.
- Return to your car’s driver seat and crimp the ring terminals of the wires on this side. You only need to strip about ½-inches of each wire’s insulation.
Step 4: Wire the Amp Gauge
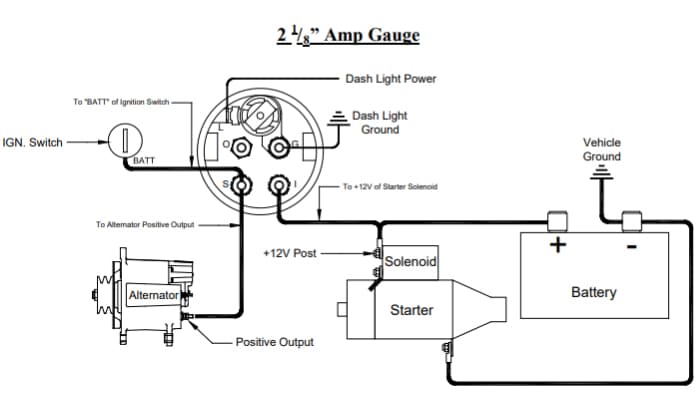
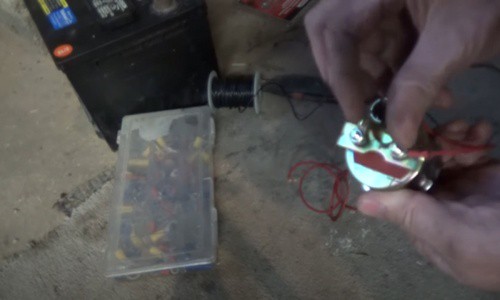
Here’s a sample amp gauge wiring diagram for you to proceed with this step:
1. With the car’s hood still open, disconnect the negative battery wire from its terminal. Then, wire up an amp gauge by securing the red and black wires to its S and I terminals.
Note that each wire of the 12-volt amp gauge carries a current. That means it won’t matter which terminal you use for the red or black wire.
2. Next, crimp each wire at the engine bay’s side by removing about ½-inch of its insulation. Insert the crimped sections into the in-line fuses and secure them.
3. Attach the red wire to your car’s alternator’s positive output. Note that you may need to remove the alternator at this point, especially if the terminal is difficult to reach.
4. Connect the black wire of the amp gauge to the car battery’s positive terminal. Remember to loosen the nut on the terminal before attaching the black wire. Secure the setup afterward.
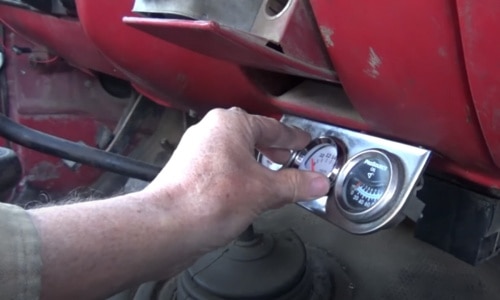
Step 4: Test the Amp Gauge
If done correctly, the amp gauge should be working at this point.
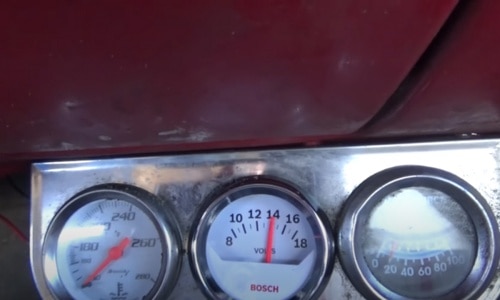
- Test it by turning on the vehicle’s headlights. You should see the amp gauge’s needle dip to the negative area.
- Next, turn off the headlights. The needle in the amp gauge should return to its default 0 position. This movement (or lack thereof) indicates that there’s no current generated from the vehicle’s battery.
- Use this step to troubleshoot any issues you may encounter with the amp gauge. For instance, ensure the wires are secure if the gauge doesn’t move when turning the headlights on and off.
- If the installation is successful, you may proceed by hooking up a DC voltmeter to the setup. However, the wires to attach and the terminals to use are generally different compared to installing an amp gauge.
Conclusion
Use this guide to help you understand how to hook up an amp gauge to your vehicle. Remember, it’s essential to plan the process before jumping into it. That way, you won’t be at risk of making significant mistakes.
Also, you can consult your vehicle’s owner’s manual if you need help looking for certain parts. The book should aid you in locating some elements necessary for the installation, such as the hole for the amp gauge’s wires to enter the engine bay.

I am Edwin Jones, in charge of designing content for Galvinpower. I aspire to use my experiences in marketing to create reliable and necessary information to help our readers. It has been fun to work with Andrew and apply his incredible knowledge to our content.