
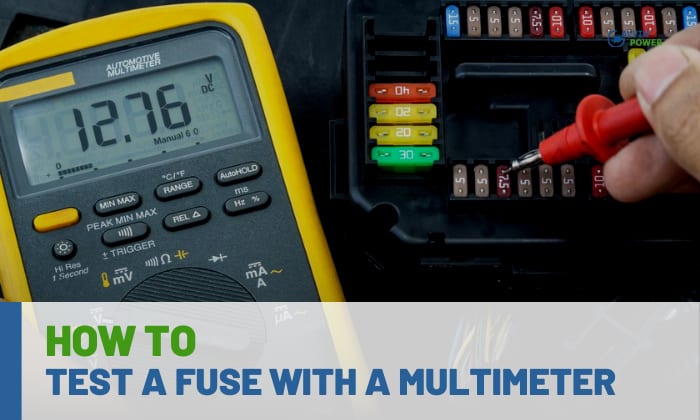
Many electronics have built-in fuses to protect them from issues like overloads and short circuits. But how do you know if a fuse is bad? Now, you’re asking yourself, how to test a fuse with a multimeter?
Generally, testing a fuse with a multimeter involves the following steps:
- Remove the fuse
- Turn on the multimeter
- Test the fuse
Note that these steps have nuances to ensure that you’re doing the process correctly. So, continue reading to know more about this procedure and gain accurate results.
Table of Contents
Test a Fuse With a Multimeter
It’s ideal to understand fuses to learn how to tell if a fuse is bad. Note that fuses are tubes with wires that protect electrical equipment from power surges and other similar problems.
If a significant amount of current runs through the wires of your device, the fuse takes on that surge. That way, it prevents further harm to the unit, which can also help stop other concerns like house fires.
Step 1: Prepare
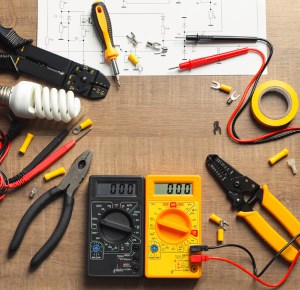
Typically, you only need the multimeter to test fuses and relays. But your specific scenario may require you to use other tools, such as screwdrivers, to remove fuses from electronic devices.
The steps to check fuses with multimeter are fairly straightforward. Anyone with basic knowledge of dealing with electronic devices can complete this process without the risk of harming the units.
However, contact the product’s manufacturer or a certified technician if you think you’re not confident about how to use multimeter to test fuse.
After understanding these key points, follow these steps to check if a fuse is good:
Step 2: Remove the Fuse.
Start the multimeter fuse test by turning off the equipment. Ensure to disconnect the device from its power source so that you won’t be touching live components upon removing the fuse.
In case you’re certain your unit has a blown fuse, find a blown fuse by seeing if the wire inside it has melted or whether there are dark brown stains on the cartridge. If the fuse housing isn’t transparent, you’ll need to use the multimeter to check the whole thing.
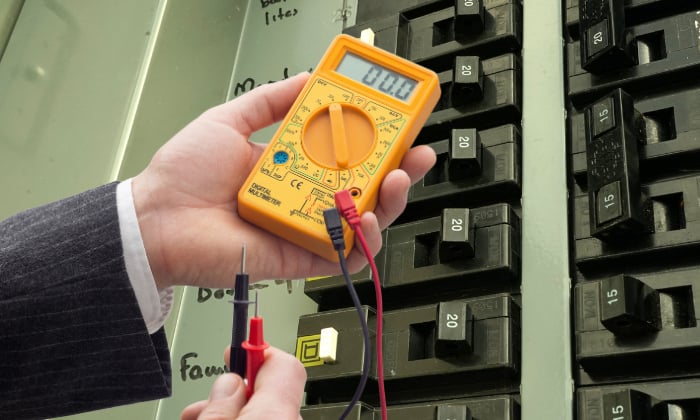
Step 3: Turn on the Multimeter.
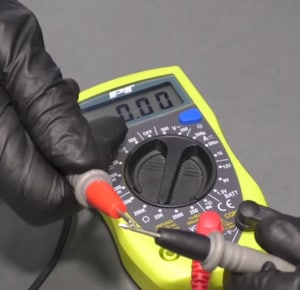
Ensure that the multimeter is working correctly to test a fuse for continuity. So, turn on the multimeter and set its dial to the continuity setting. This setting often looks like speaker waves.

Next, place the positive and negative leads beside each other. Listen to a beeping sound from the multimeter, which indicates that it’s working properly.
If you don’t hear anything, troubleshoot the multimeter before proceeding. Otherwise, replace the multimeter with a working model.
Step 4: Test the Fuse.
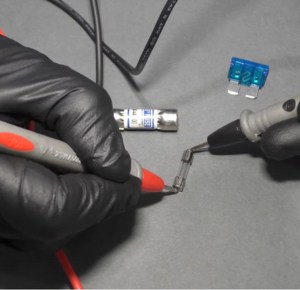
Test a bad fuse by putting each multimeter lead to one end of the fuse. You should hear a beeping sound from the multimeter.
As an alternative, set the device to measuring Ohms and touch both leads to the circuit protector you want to test again.
Your fuse checker should display very low resistance (a number close to 0). The fuse is no longer functioning if a number like 1 or higher appears.
How to Check Fuses Without Removing Them?
Typically, you only need to use a multimeter’s leads to check a fuse, regardless of its location, although you can remove the fuse from its fastened position to reduce the risks of harming it and the electronic device.
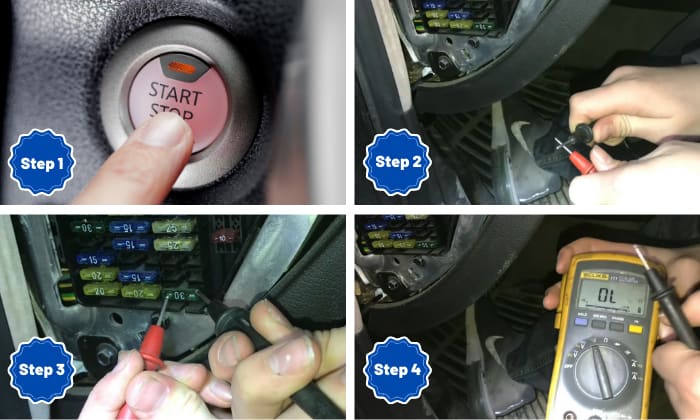
Nonetheless, here are the steps to do the multimeter fuse test without removing the component:
- Turn off the electronic device and disconnect its power source.
- Check if the multimeter is working by placing the leads together.
- Touch the exposed pins with the leads after setting the multimeter to continuity mode.
- Listen for beeping noise from the multimeter.
Frequently Asked Questions
What To Do If My Fuse Is Blown (How To Fix)
Replace blown fuse should be your priority when using electronic equipment. But don’t take out the fuse as soon as you find out it’s no longer working.
Here are the steps to follow upon knowing that your device’s fuse blew:
- Turn off the device and avoid powering it on.
- Check the fuse box to see if the power surge affected other components.
- Remove the fuse from the device carefully.
- Replace the fuse with the same model as the blown one.
- Restore power to the device and check for additional anomalies.
Remember: it’s important to replace the blown fuse with a unit of the same specs. For example, if you had a 30 amp fuse, change it to another model with the same ampacity.
How To Test A Fuse Without A Multimeter?
You can use a lightbulb to test a fuse if you don’t have immediate access to a multimeter. The steps for this procedure are as follows:
- Disconnect the device and remove it from its power source.
- Take out the fuse carefully and prepare a piece of wire.
- Wrap both ends of the wires around the bulb and the fuse with rubber tape.
- Connect the other ends of the bulb and the fuse to the positive and negative post of a battery, respectively.
- The bulb should turn on if the fuse functions.
How To Test Fuse Amperage?
There’s really no point in testing a fuse amperage, unless you plan to increase the current or load until the wire blows. If there’s no amperage marking on the fuse, it’s better to discard it and buy a new one.
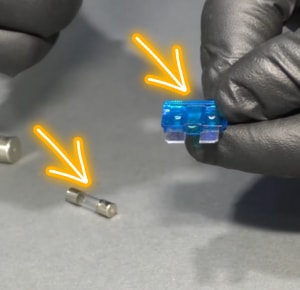
Blown Fuse VS Good Fuse: What’s The Difference?
First, search for the fuse’s location in your electronic device. Then, watch out for the signs of a bad fuse, such as the following:
- Melted link between the fuse’s positive and negative terminals
- Foggy appearance of the fuse’s case
- A short gap is visible between the fuse’s positive and negative terminals.
Conclusion
By now, you should know how to test a fuse with a multimeter. Remember, disconnect the fuse, check the multimeter to see if it’s working, and test the fuse.
If the multimeter displays a number higher than zero, you may need to replace it. Additionally, search for a replacement fuse with the same ampacity as the blown unit. If not, you might encounter additional problems with your electronic device.

I am Edwin Jones, in charge of designing content for Galvinpower. I aspire to use my experiences in marketing to create reliable and necessary information to help our readers. It has been fun to work with Andrew and apply his incredible knowledge to our content.